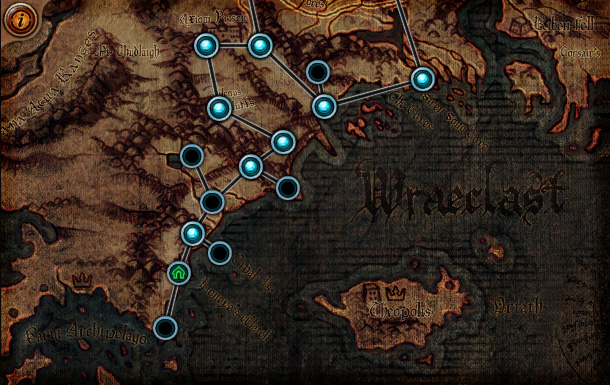
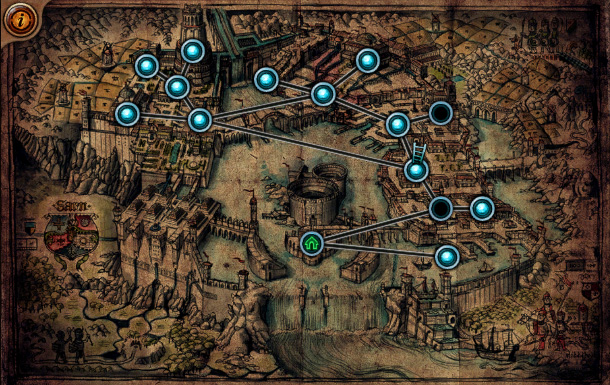
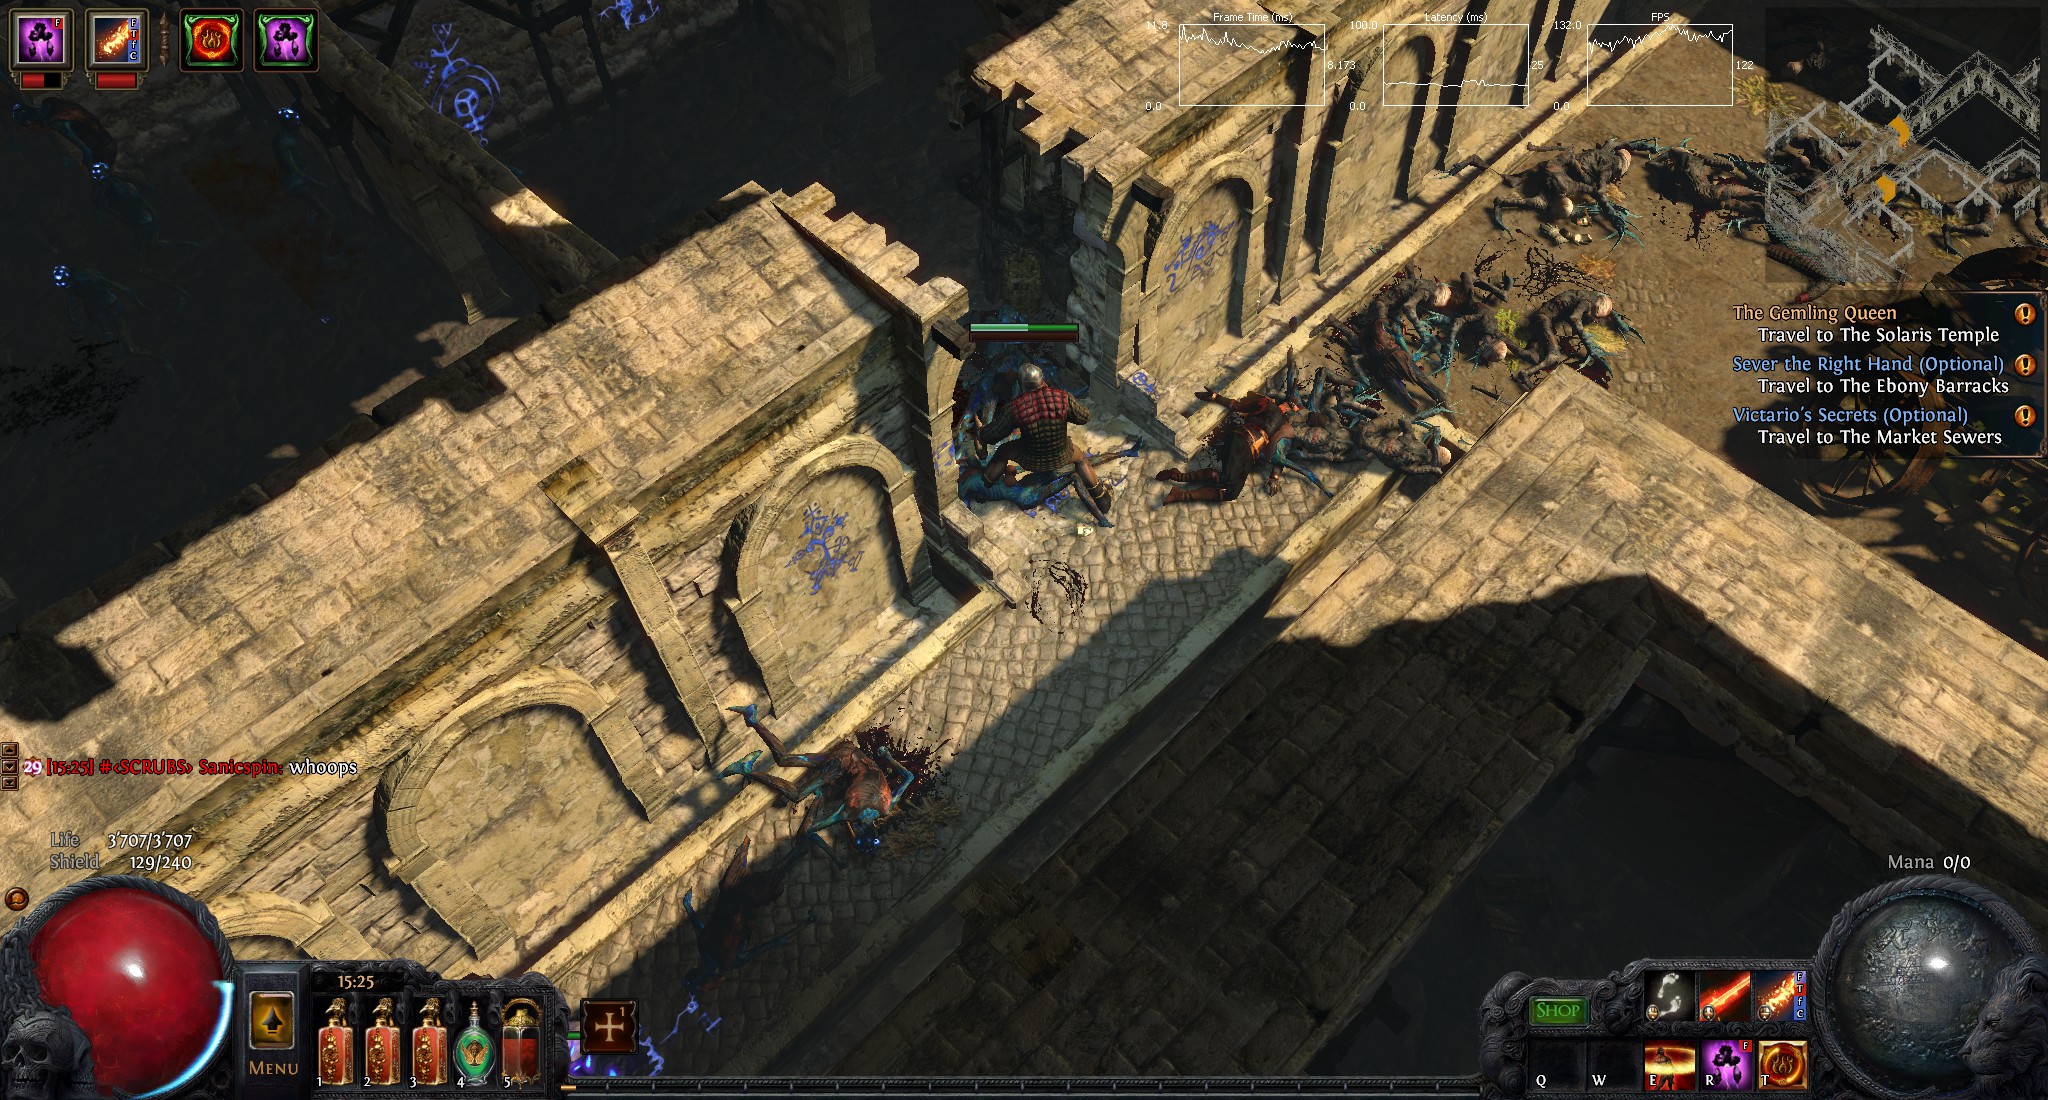
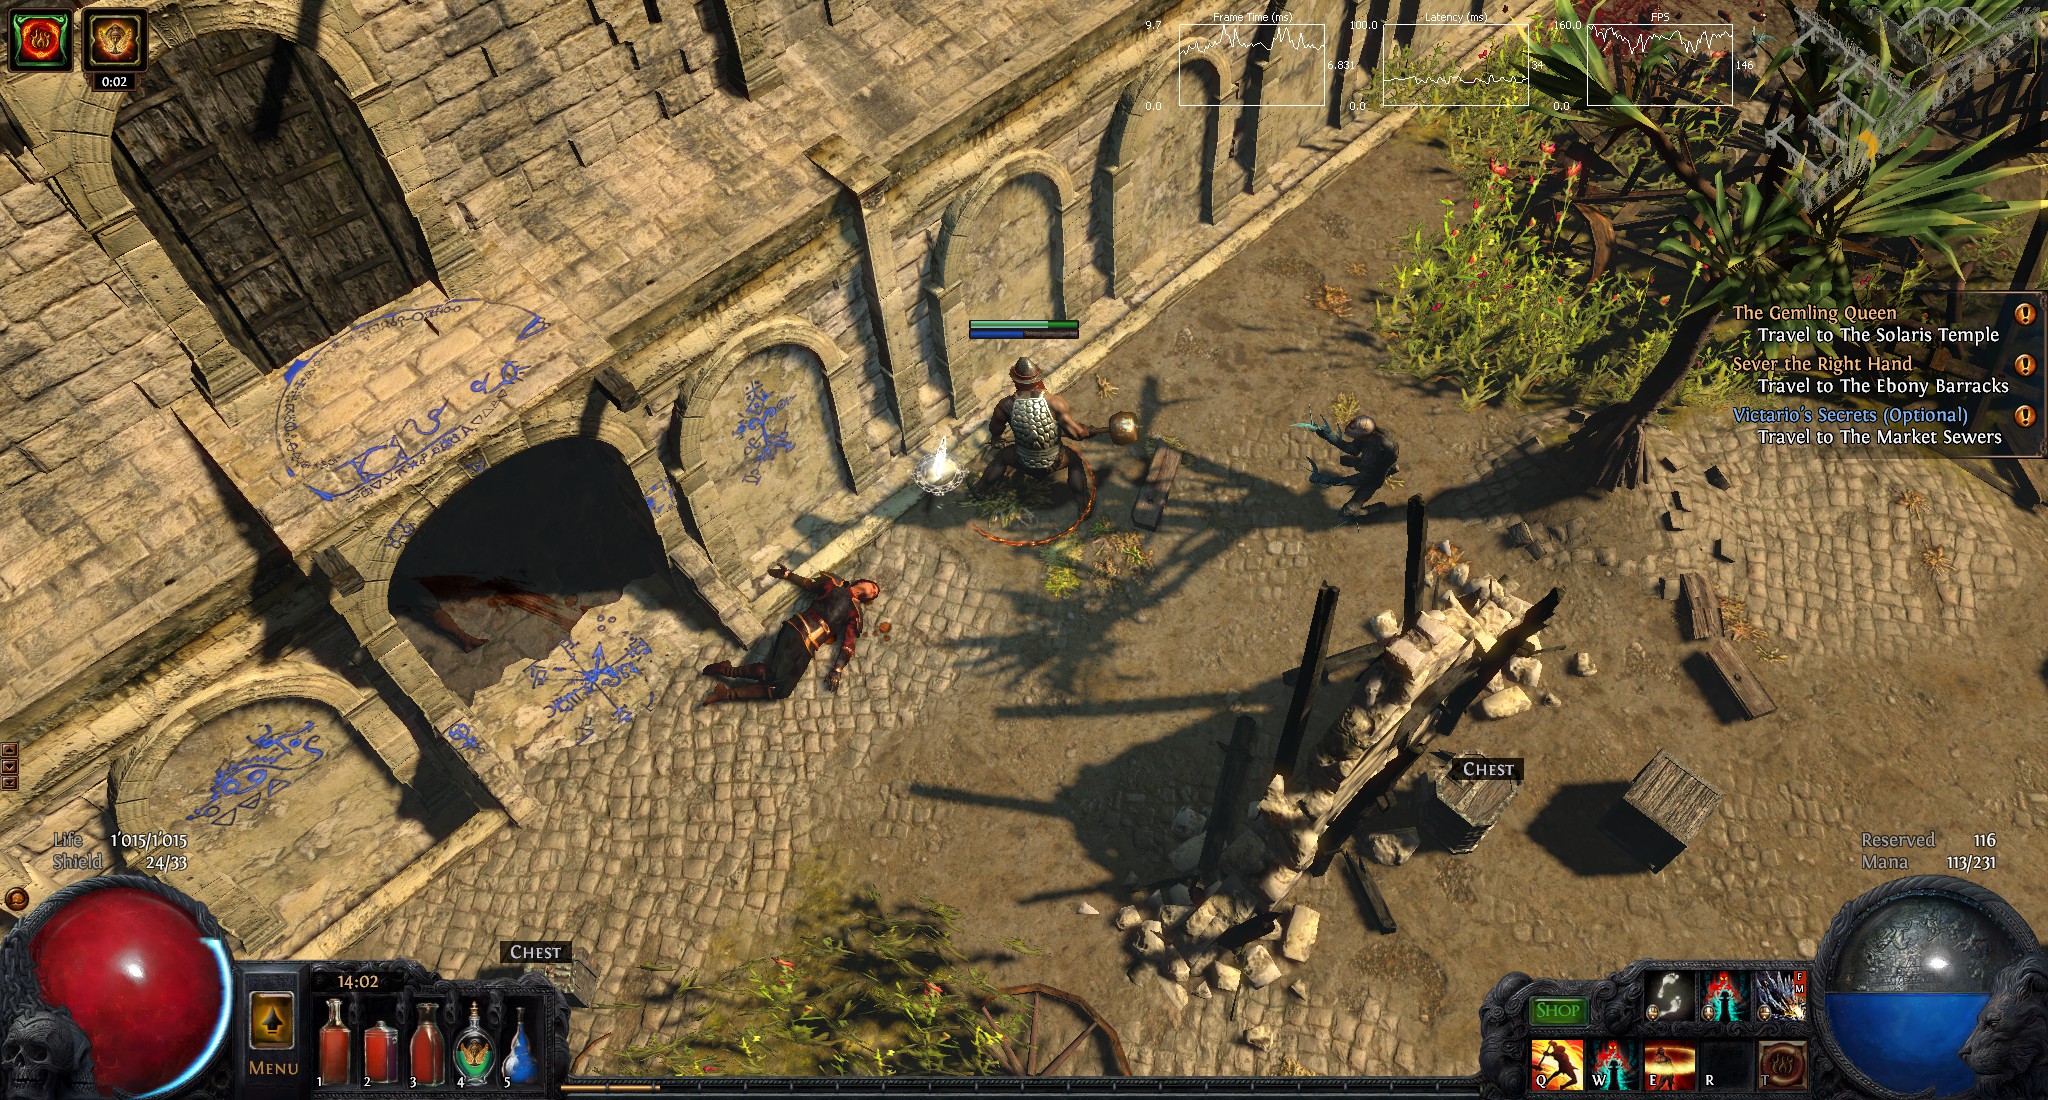
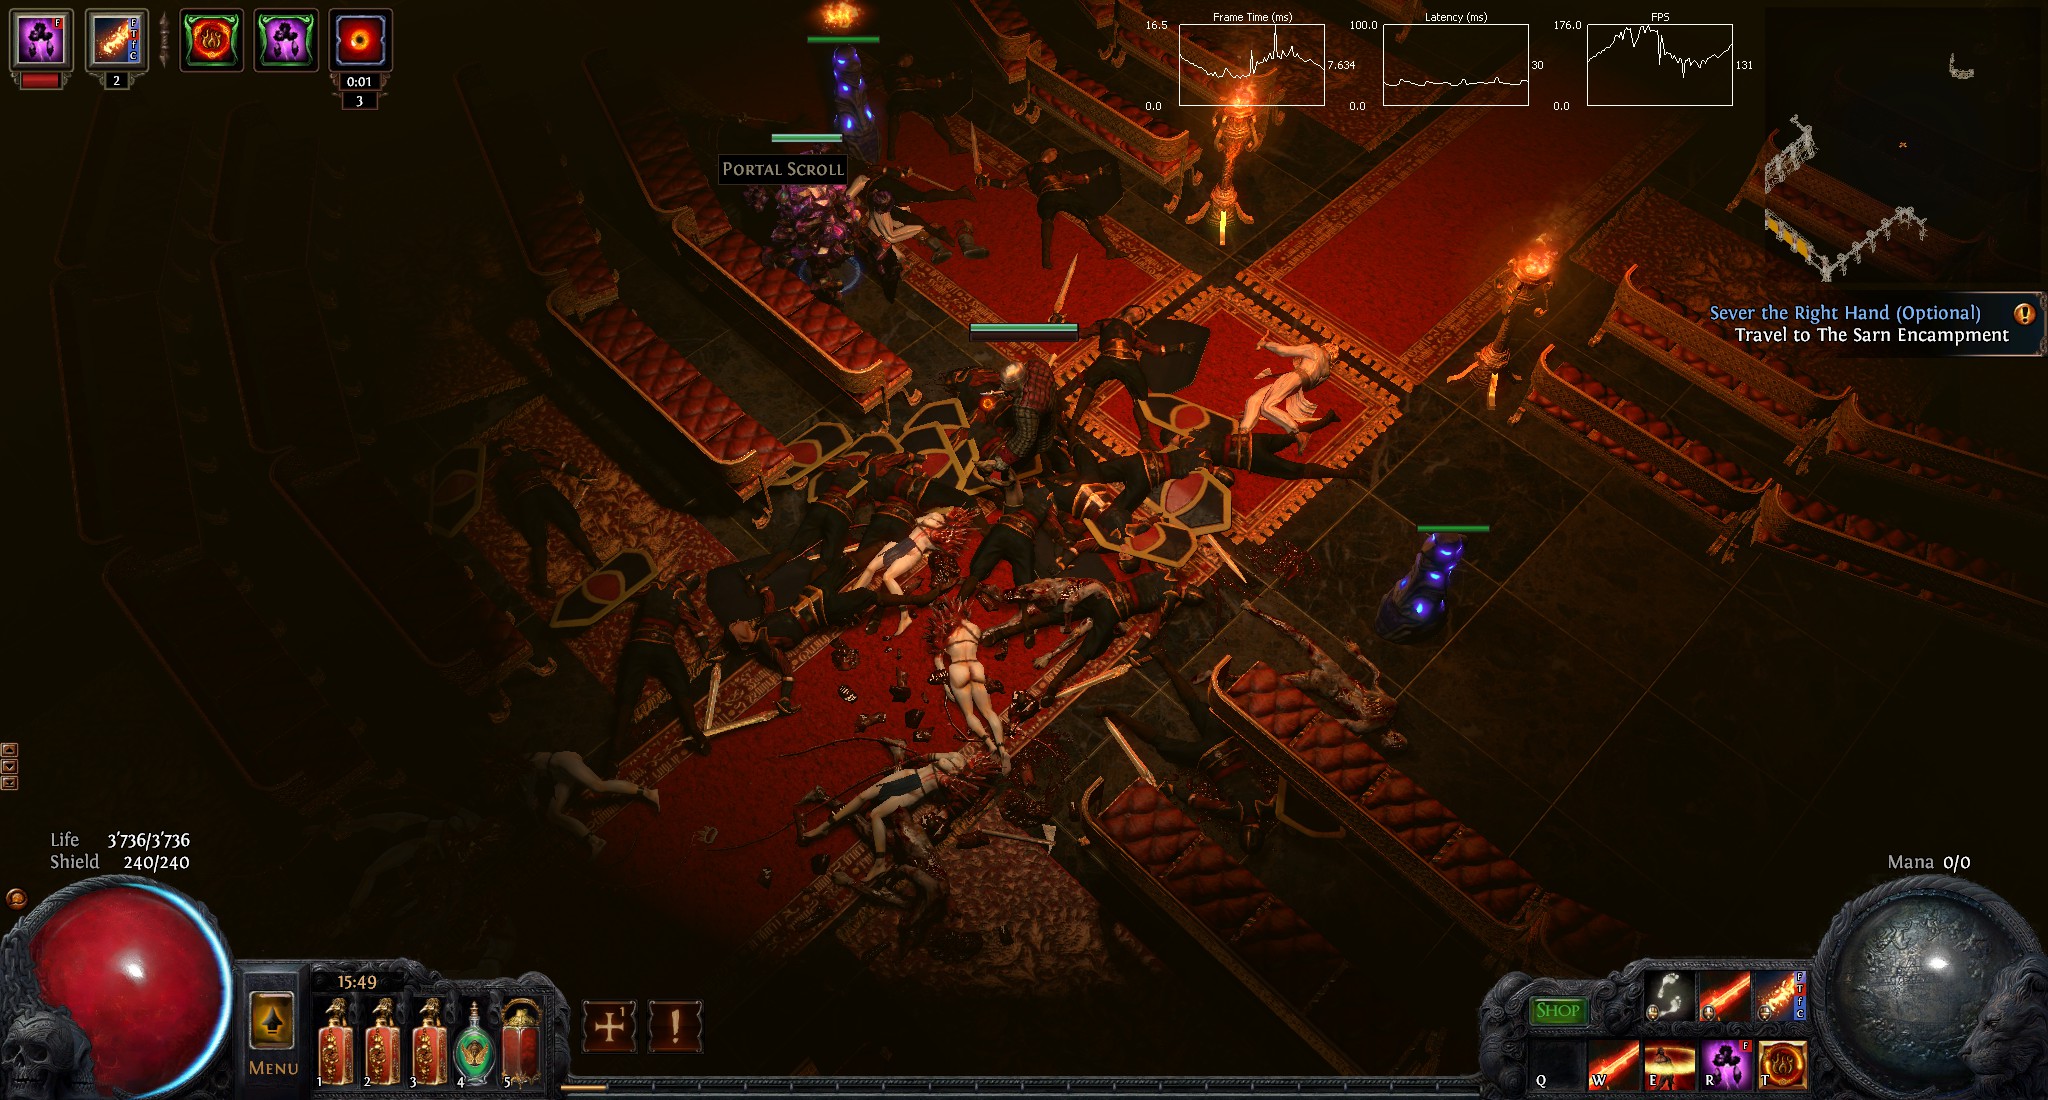
Path of Exile has a randomly generated map but there are a lot of hints that help you orient yourself and get through maps quicker. This is a list of all the known hints.
The Submerged Passage
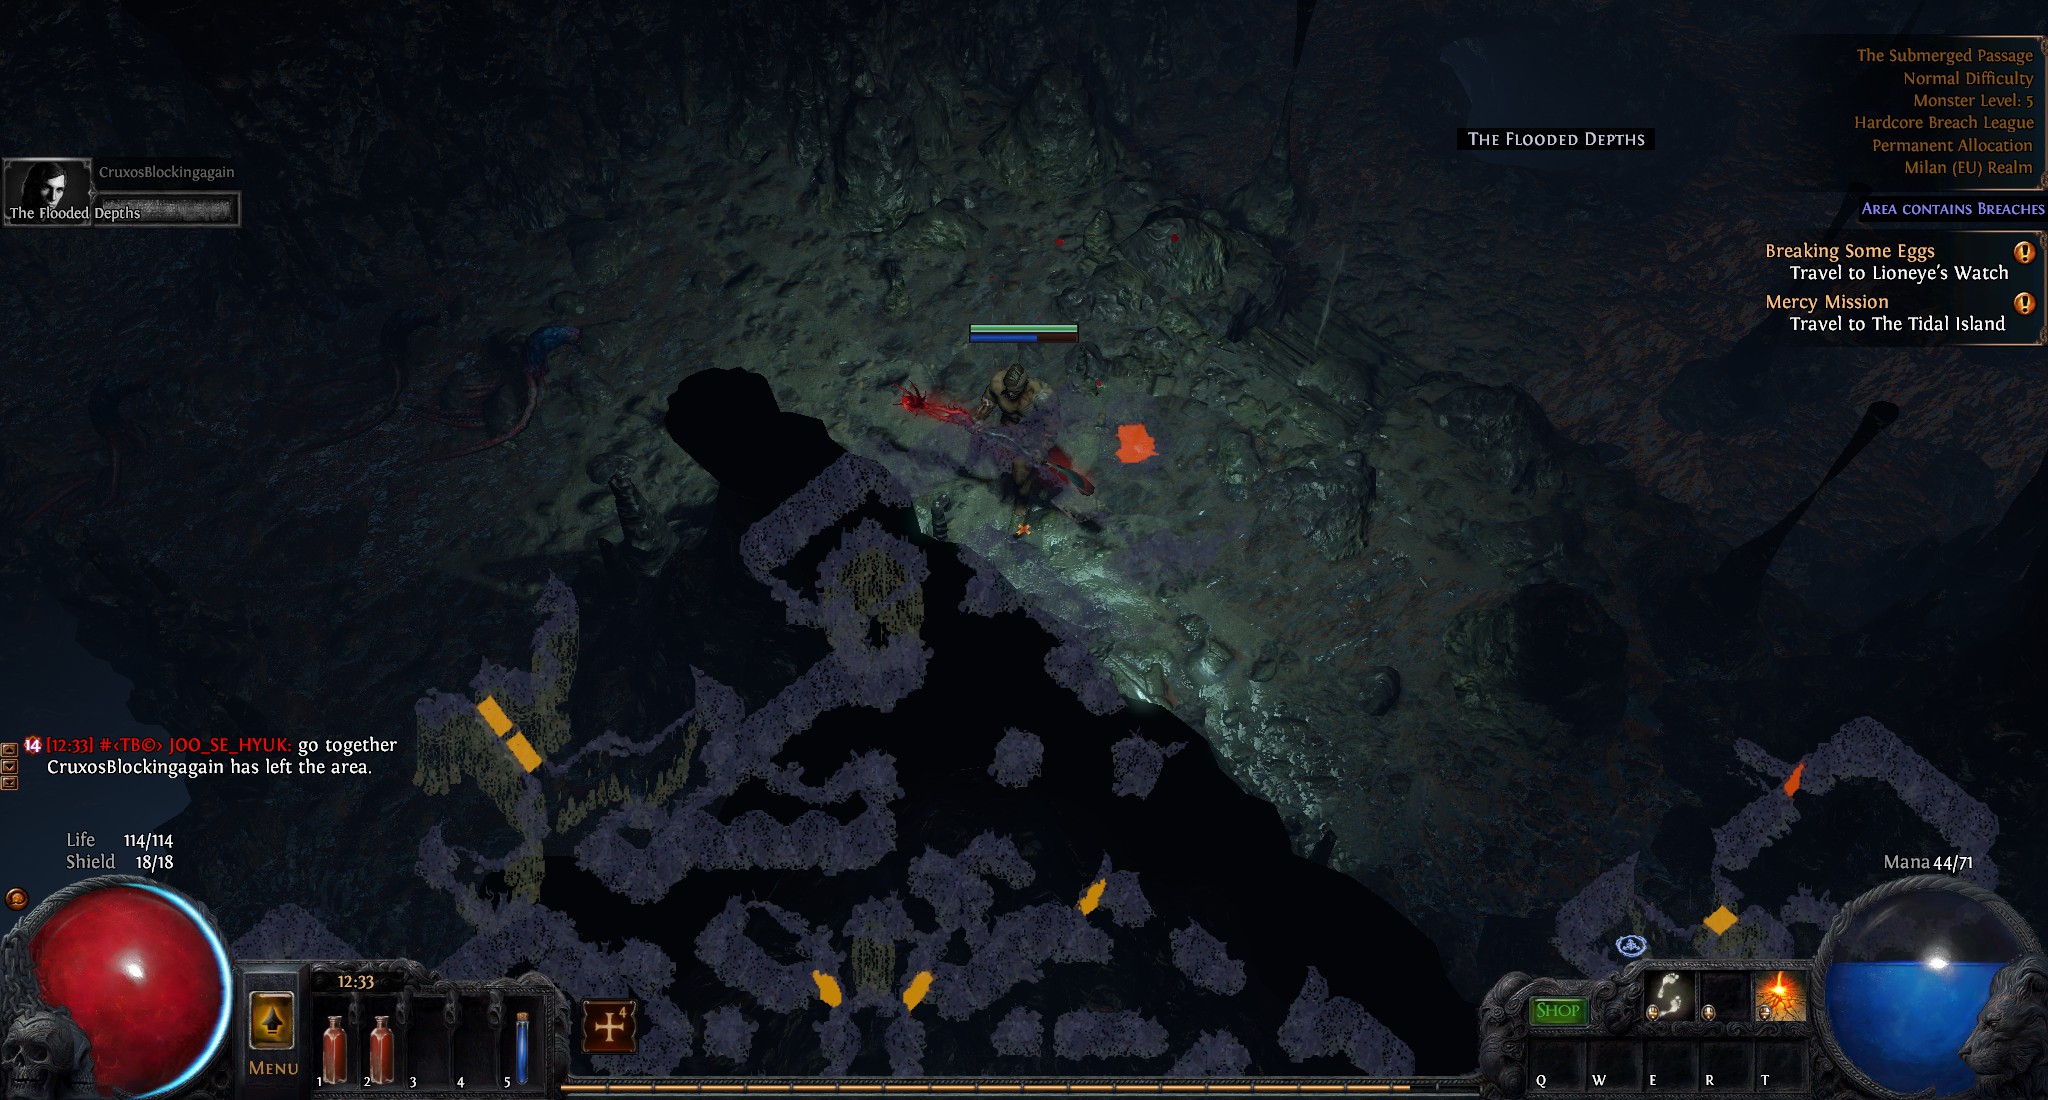
The Doublestairs lead to the ledge. The flooded depths are mostly located near the stairs. The stairs are normally located at the bottom right of the map and the flooded depths are on the left side of the stairs.
The Ledge
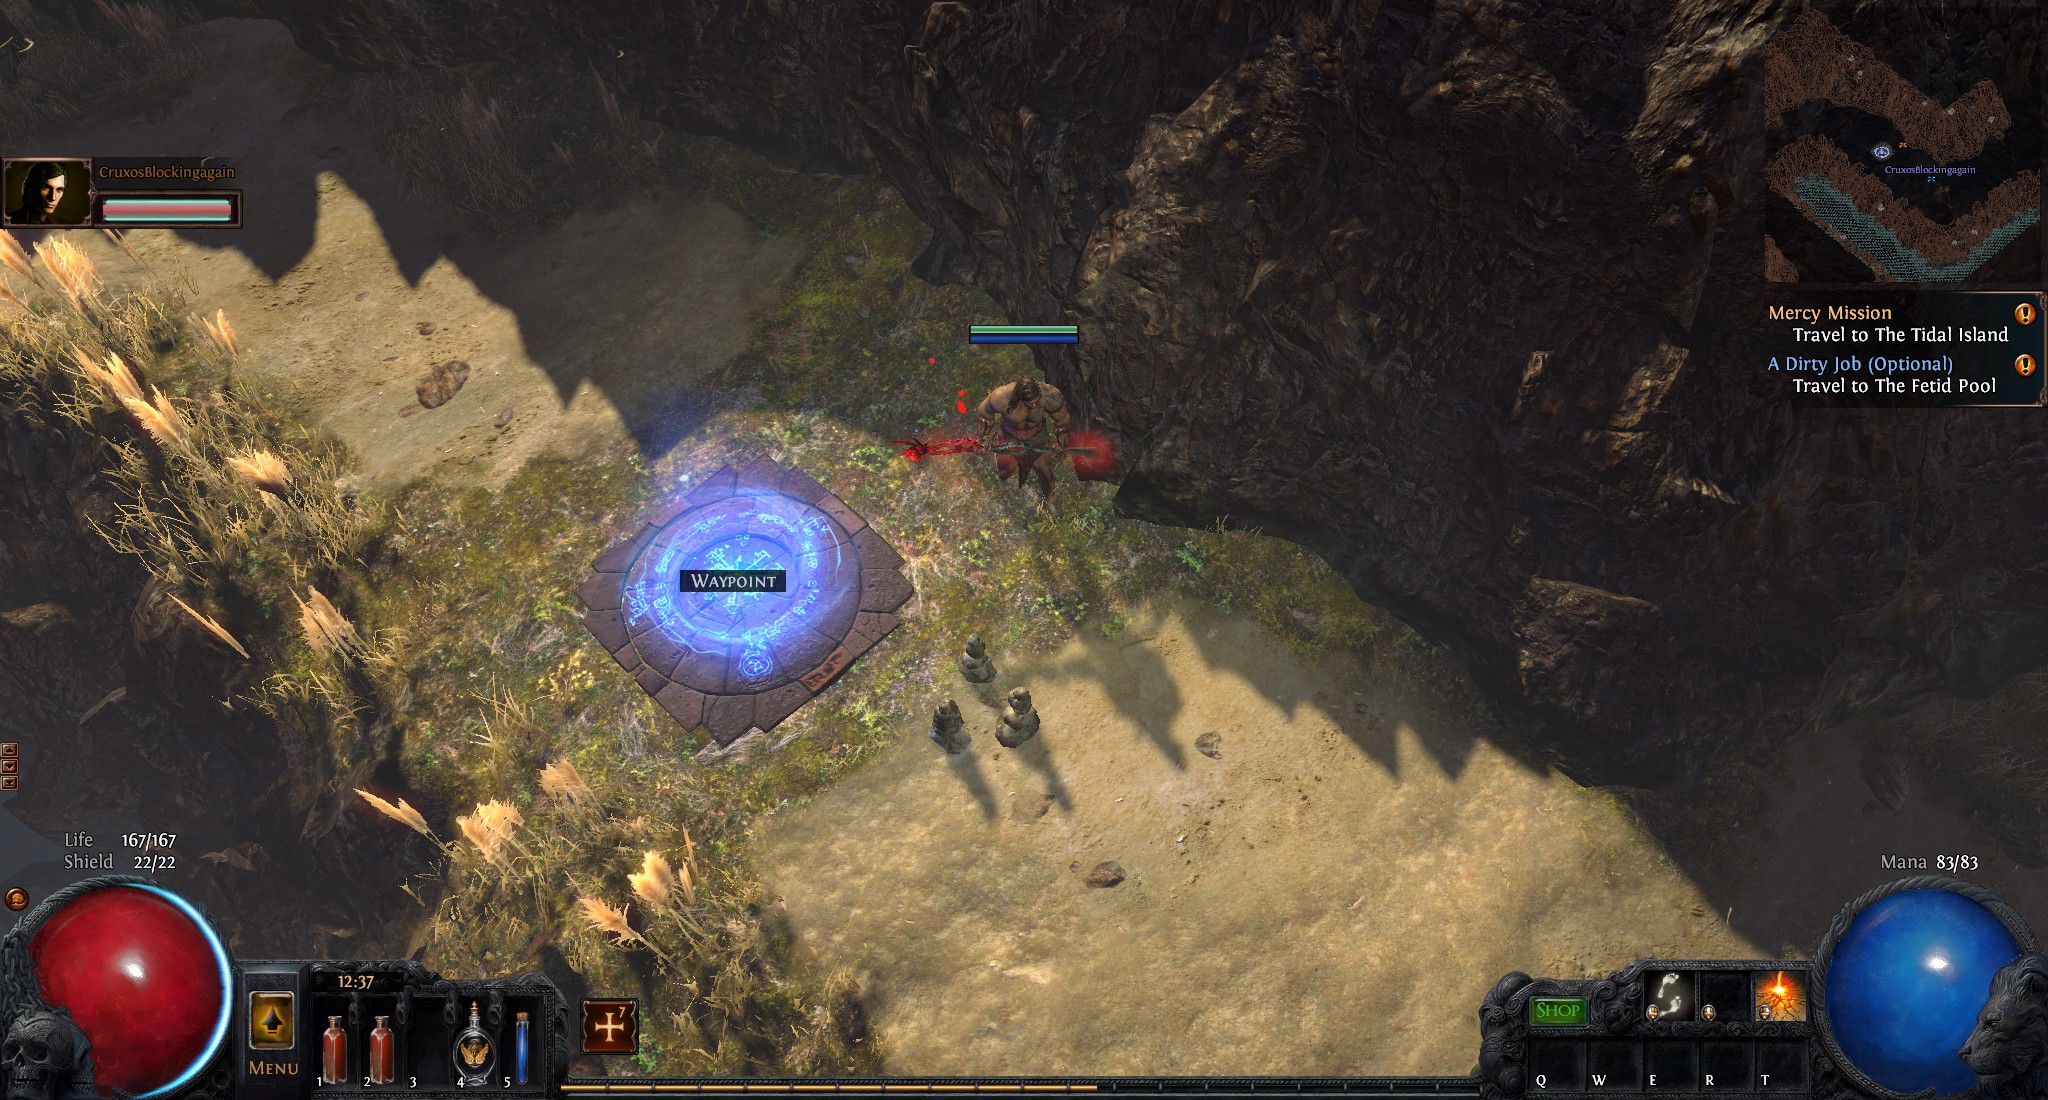
There are 3 little stonepiles at the Waypoint. Those piles show you the direction of Kuduku and the climb.
Prison
You just follow the bloodtrace to find brutus.
Prisoner’s Gate
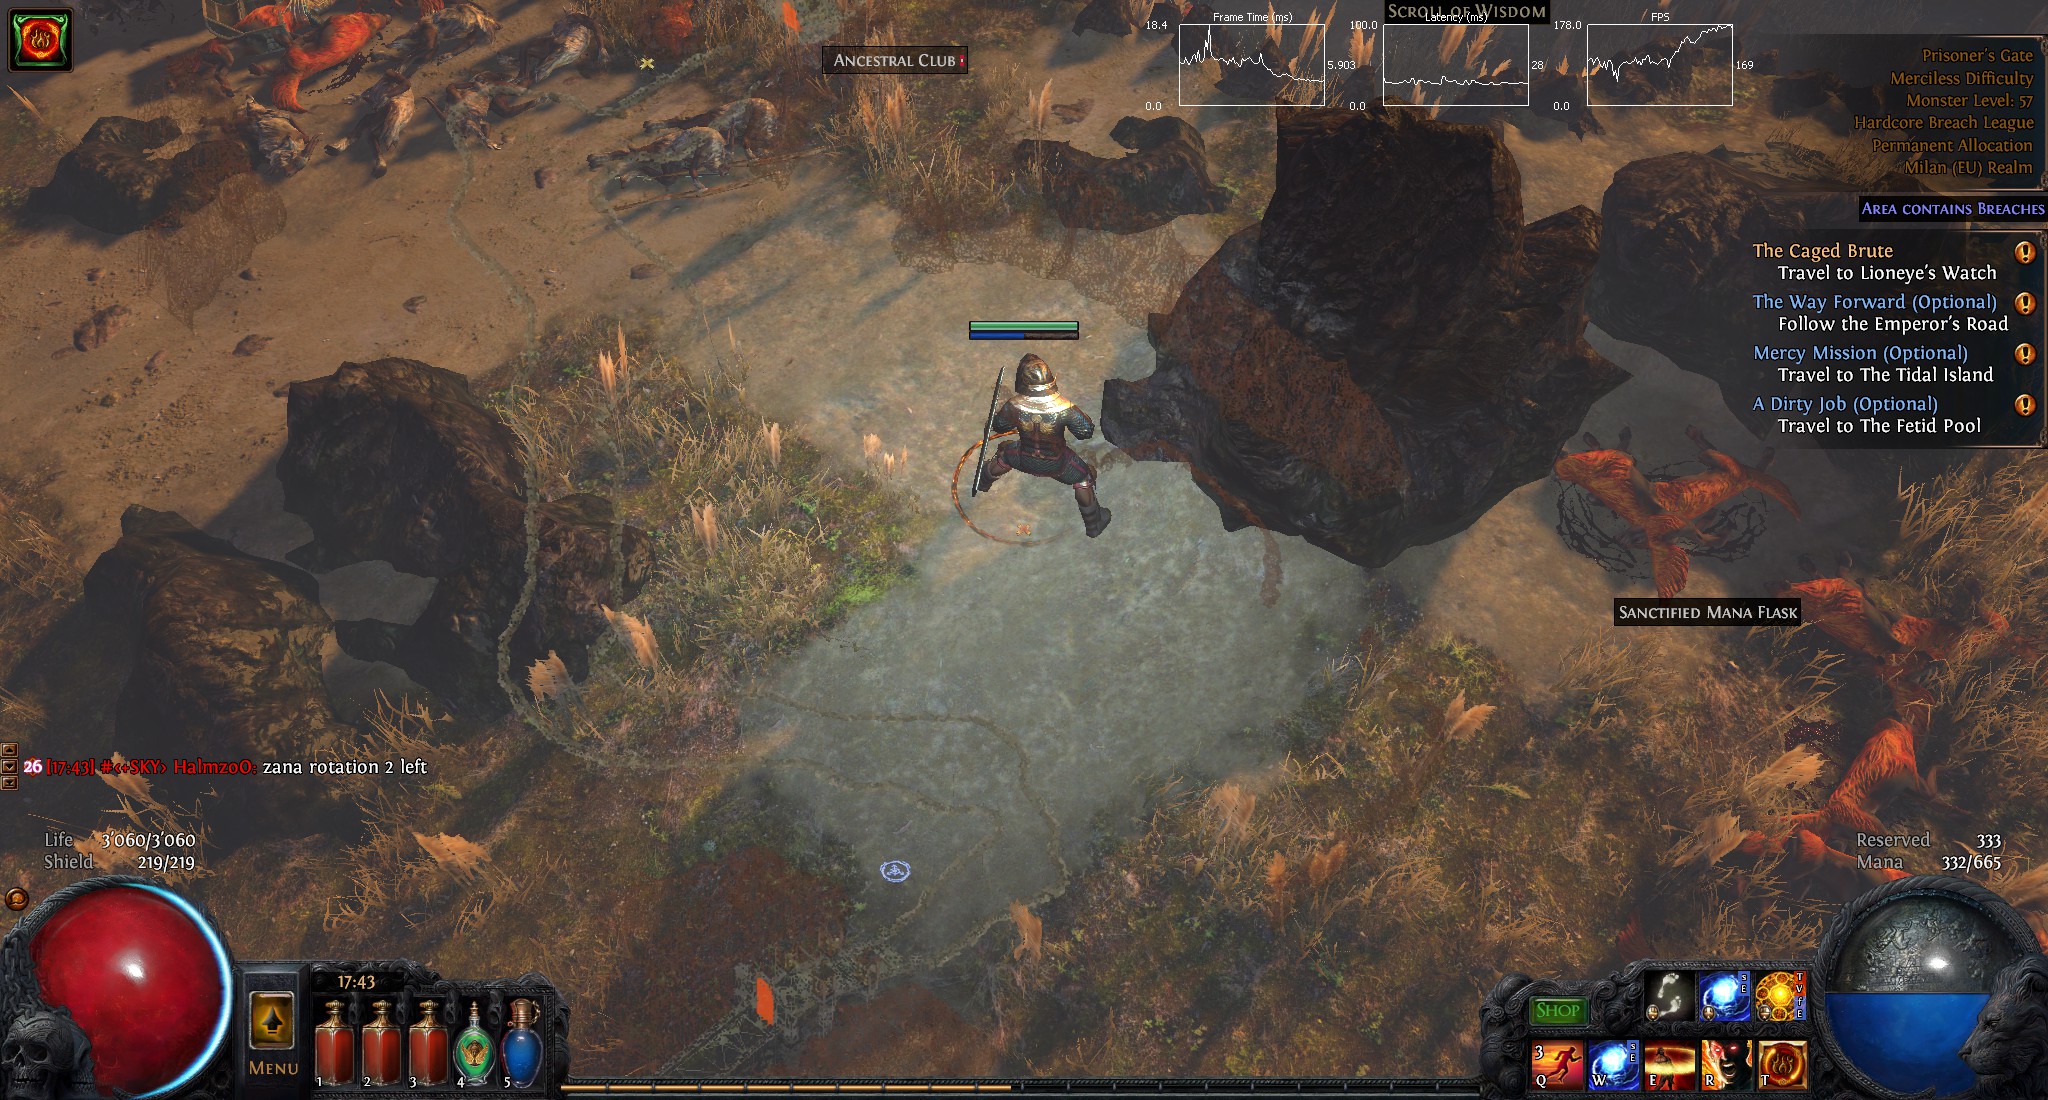
You use the street to orient yourself. On one Side there is a Stonewall and on the other side is a cscliff. The cliff shows you where the way is. You don’t have to meet piety to close the next entrance first.
Akt 2
The Riverways

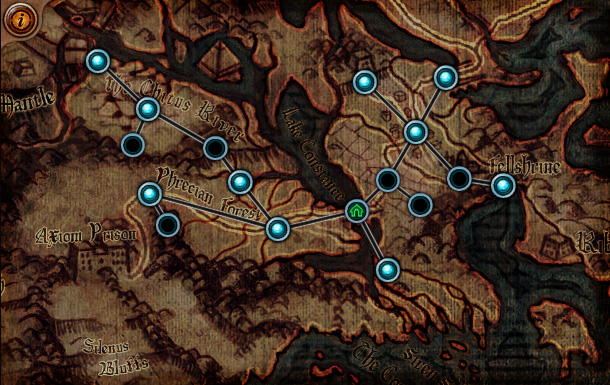
At the waypoint you search for 2 Pillars and an overgrown street. This street leads to the Wetlands. If you follow the street to the left you will get to the western forests.
The Western Forest

You follow the path untill you see the broken up street. The overgrown street leads to Alira. The other side of the Path contains the Weaver’s chambers.
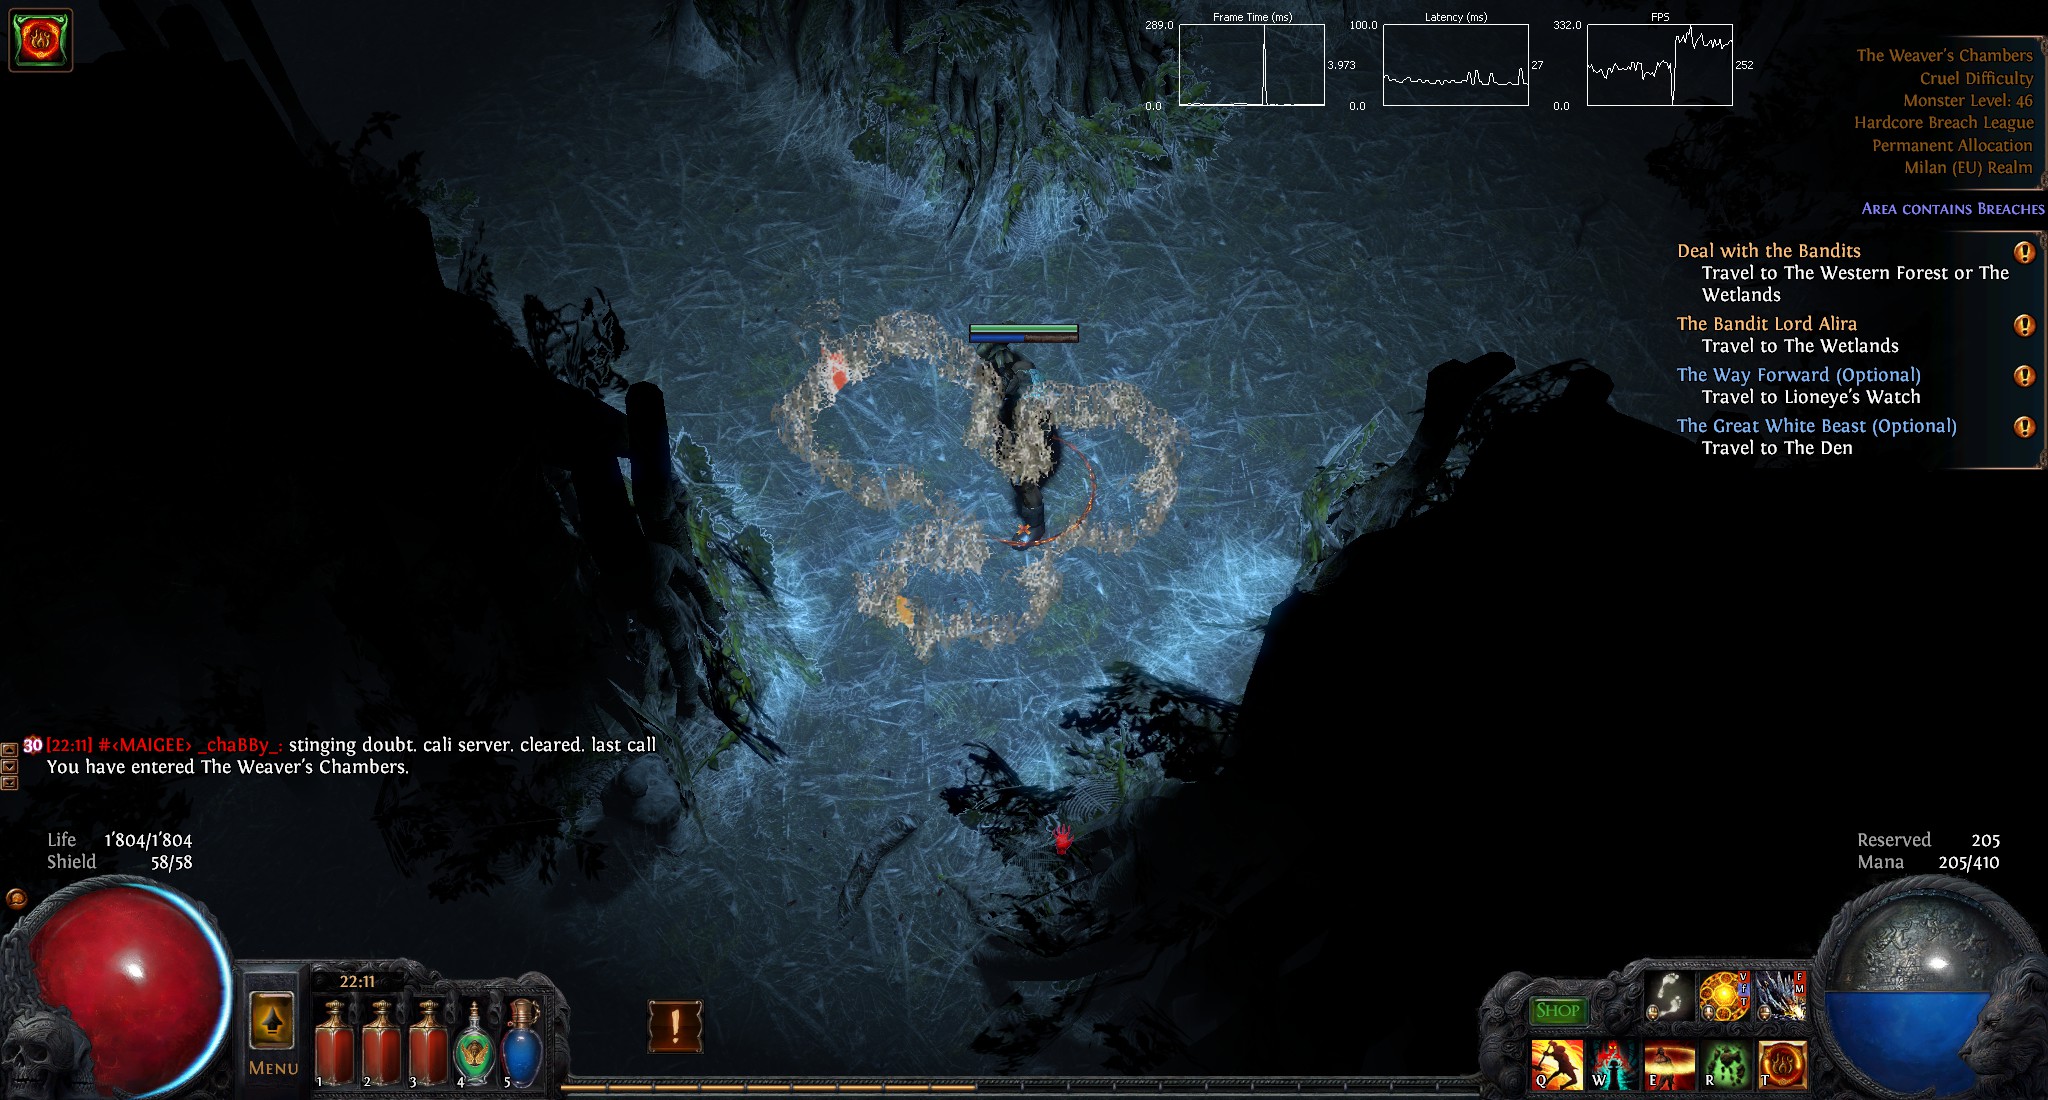
Nothing to see here besides a mighty penis.
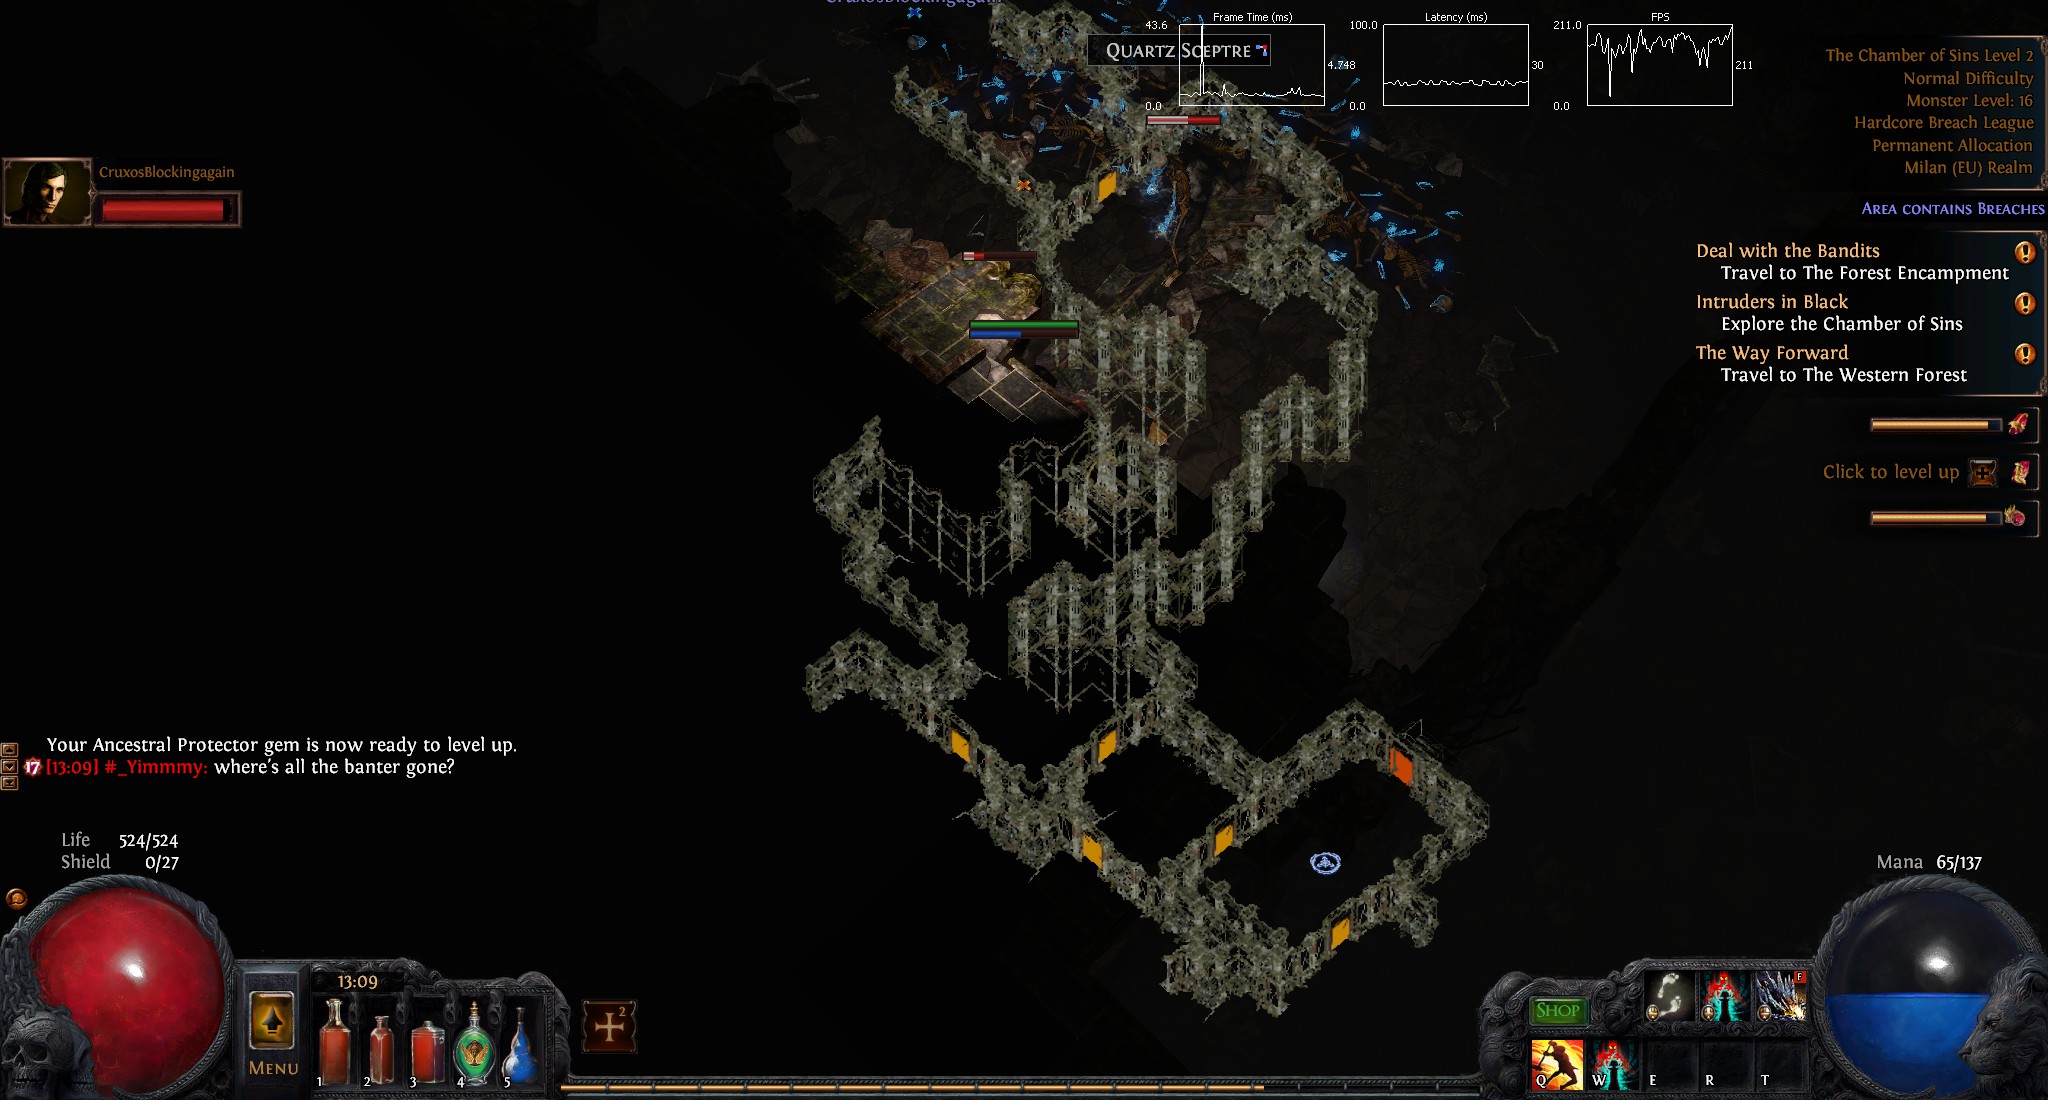
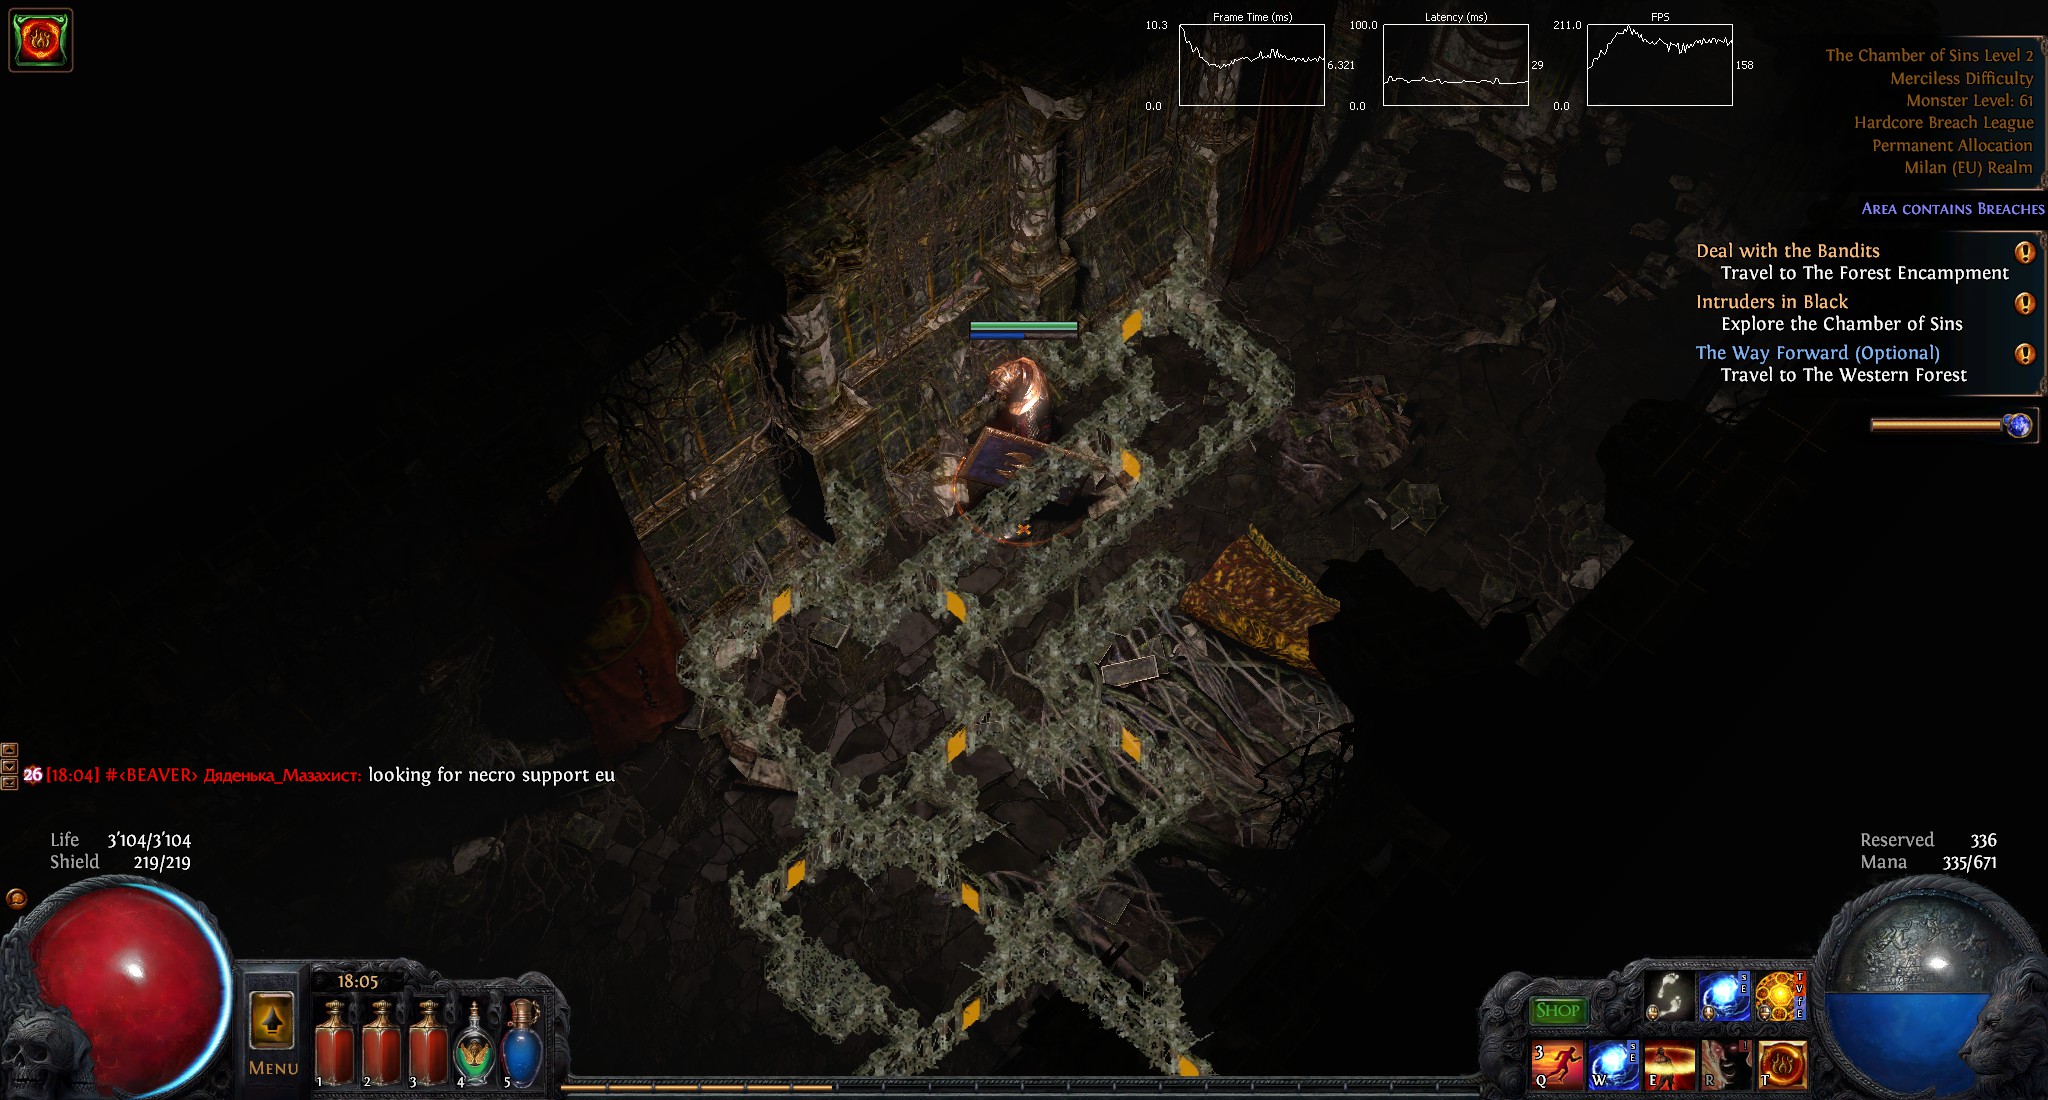
The Chamber of Sins Level 1
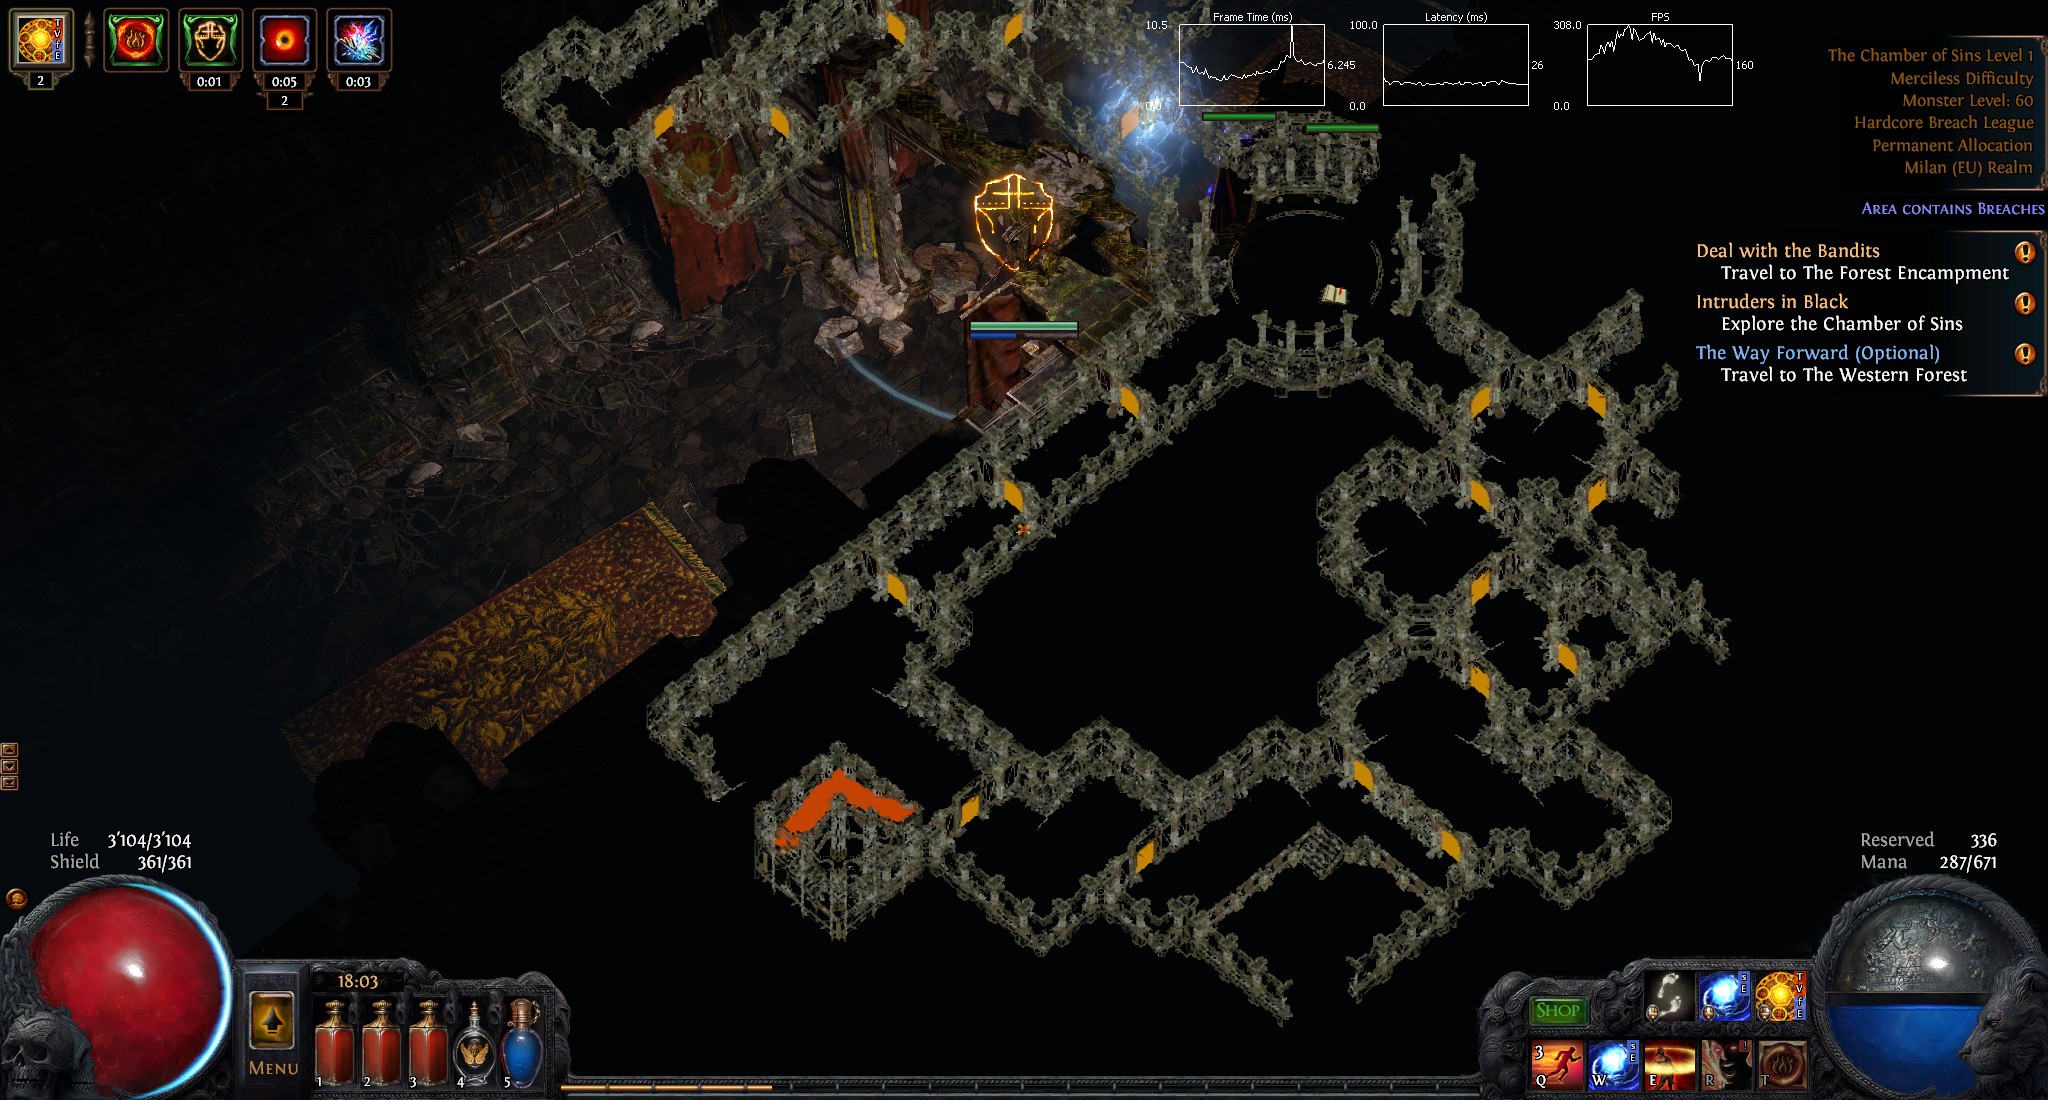
The Stairs are located in one of the 2 lower edges of the chambers. The wrong chamber contains a big blue pack of monsters.
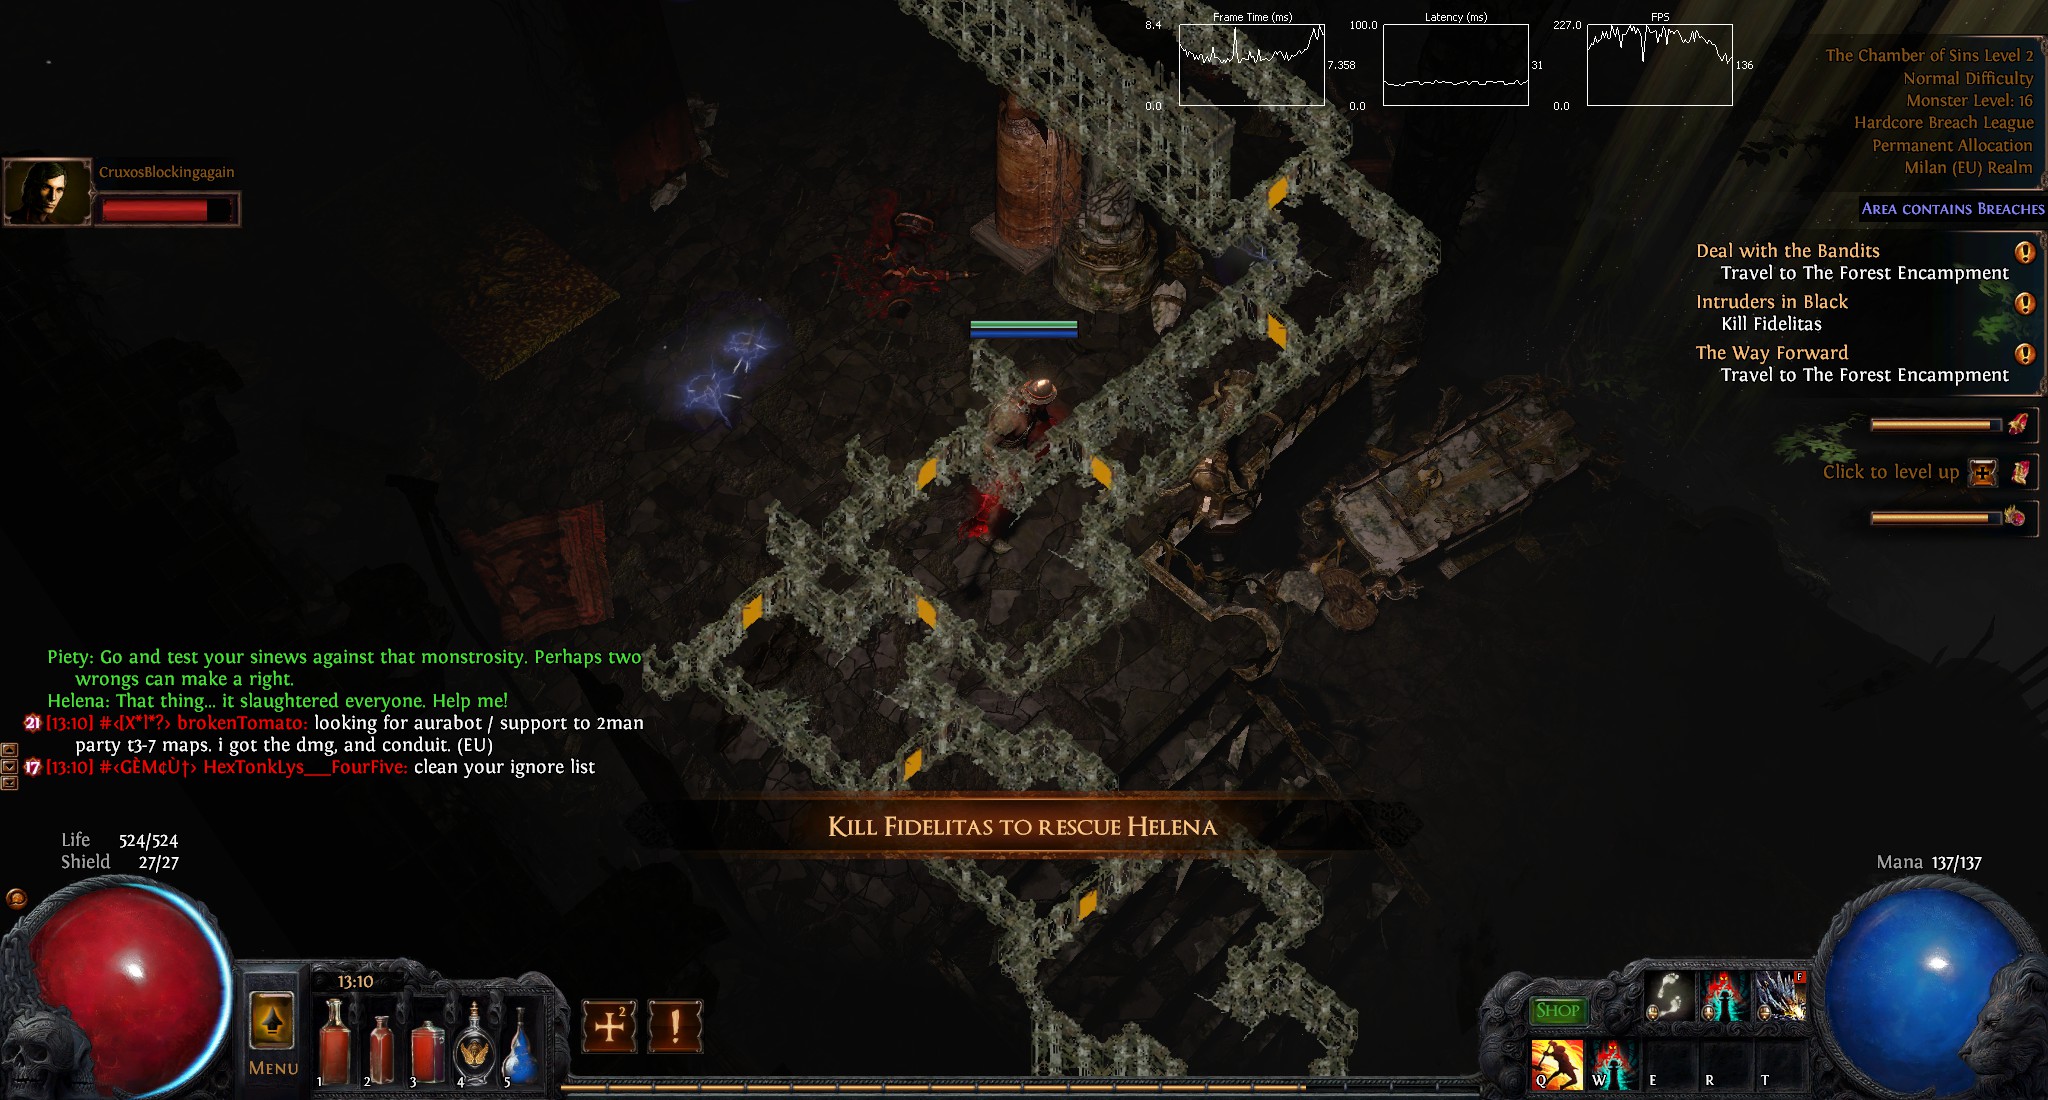
Fidelitas is always on the north side of the waypoint. The Trial is through the south door. On the north side you keep to the right edge and you look for an elongated corridor. It mostly contains an carpet in the middle of the floor.
The Caverns
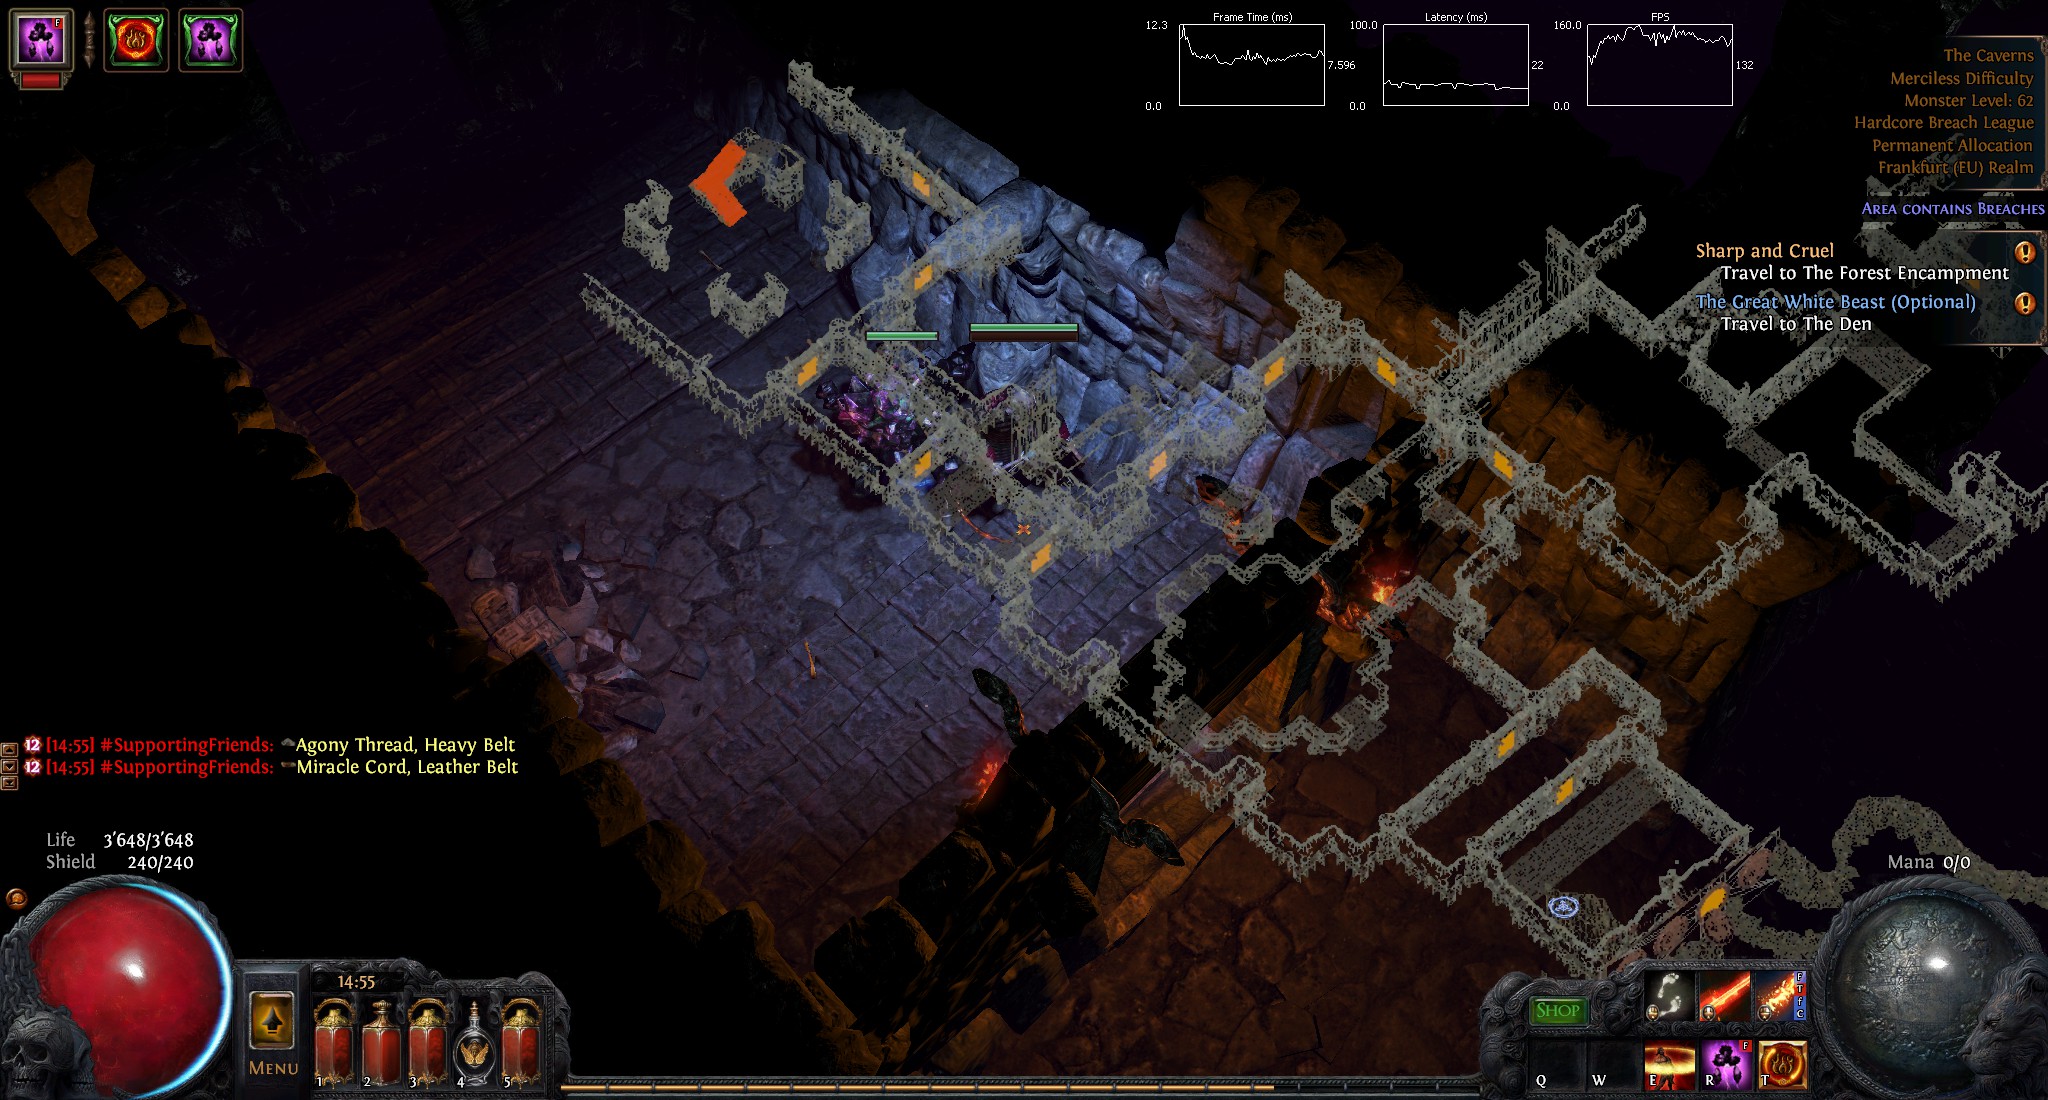
As soon as you arrive at the caverns you keep to the left. The entrance to the ancient pyramid is always on the left side. There are doors to the left that lead to a dead end so be mindfull and don’t always take the first possible door.
As it turns out that’s not always the case.
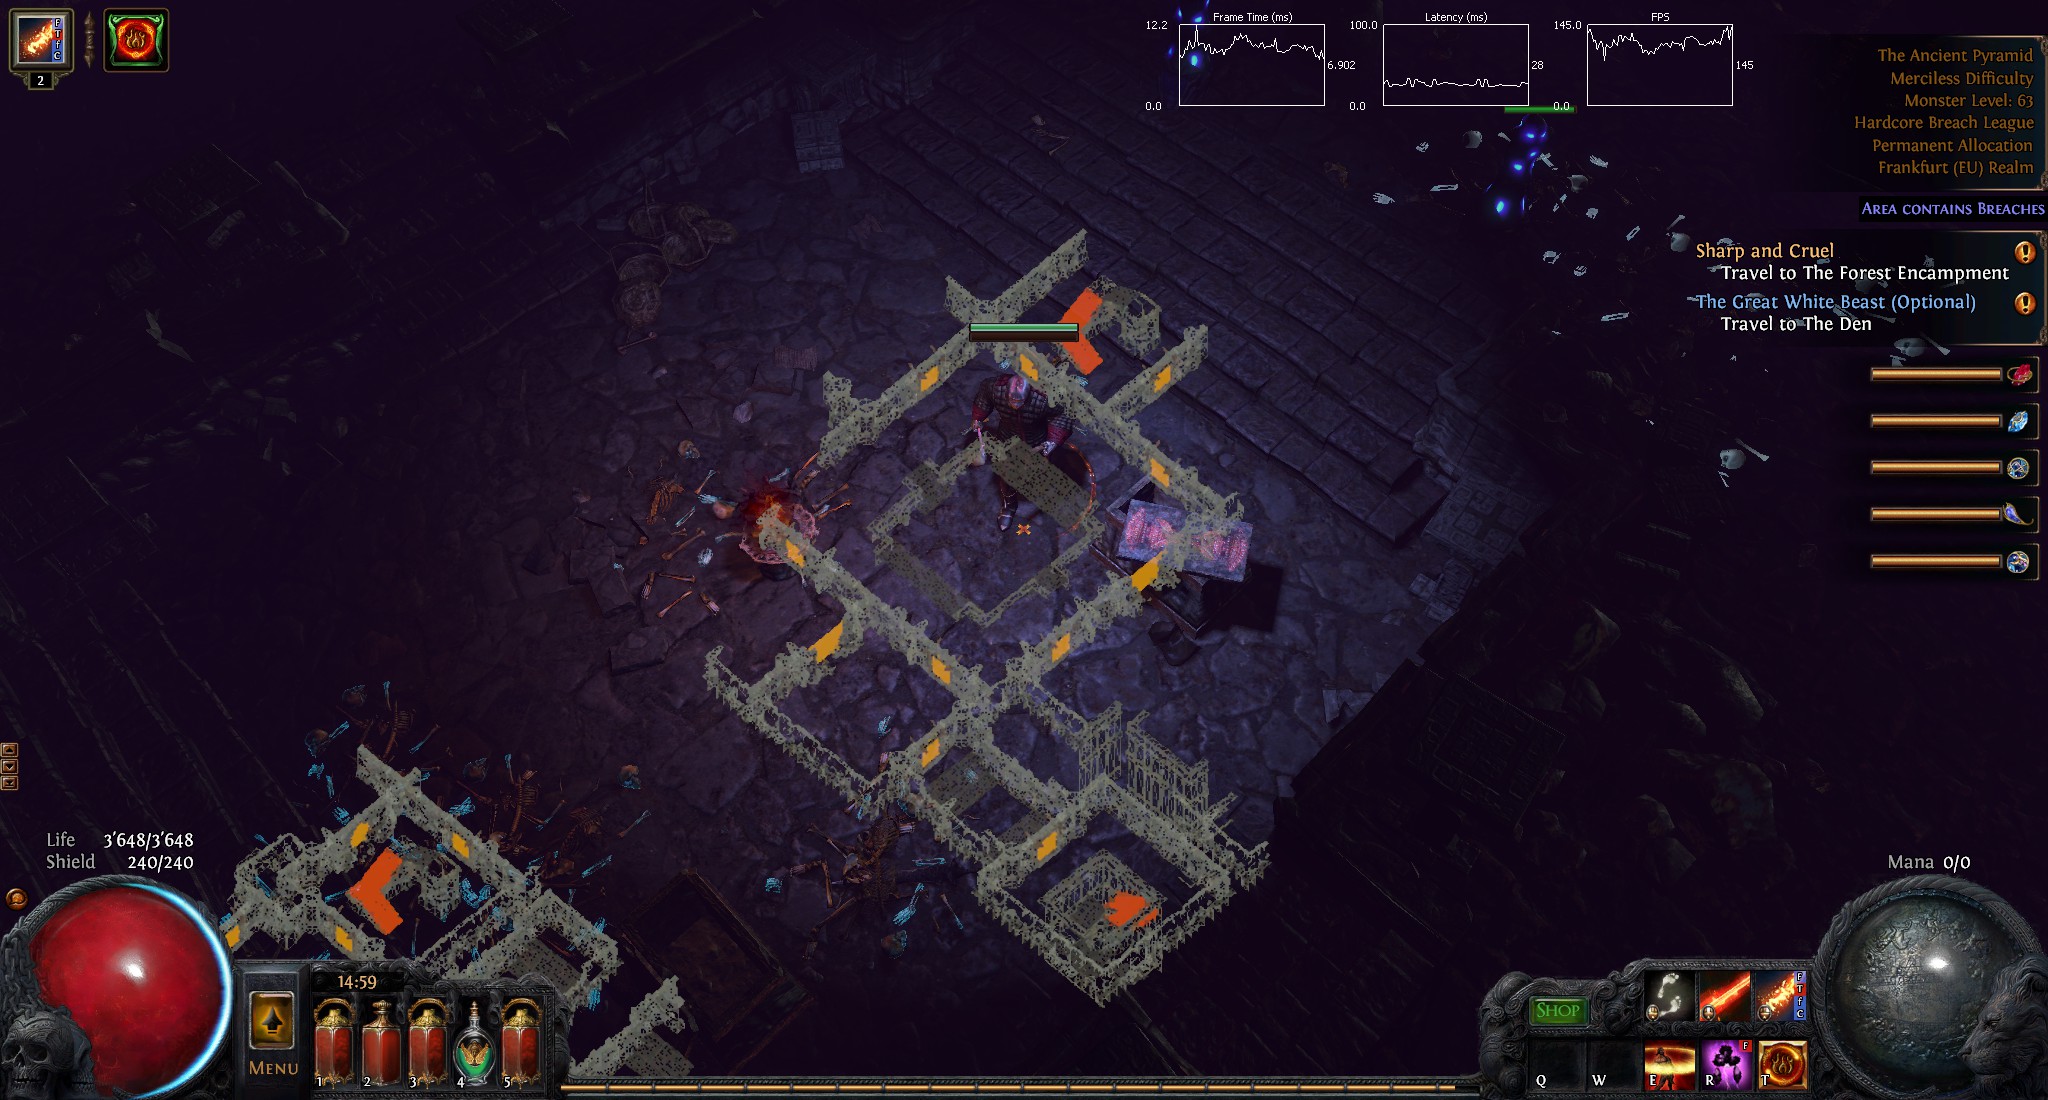
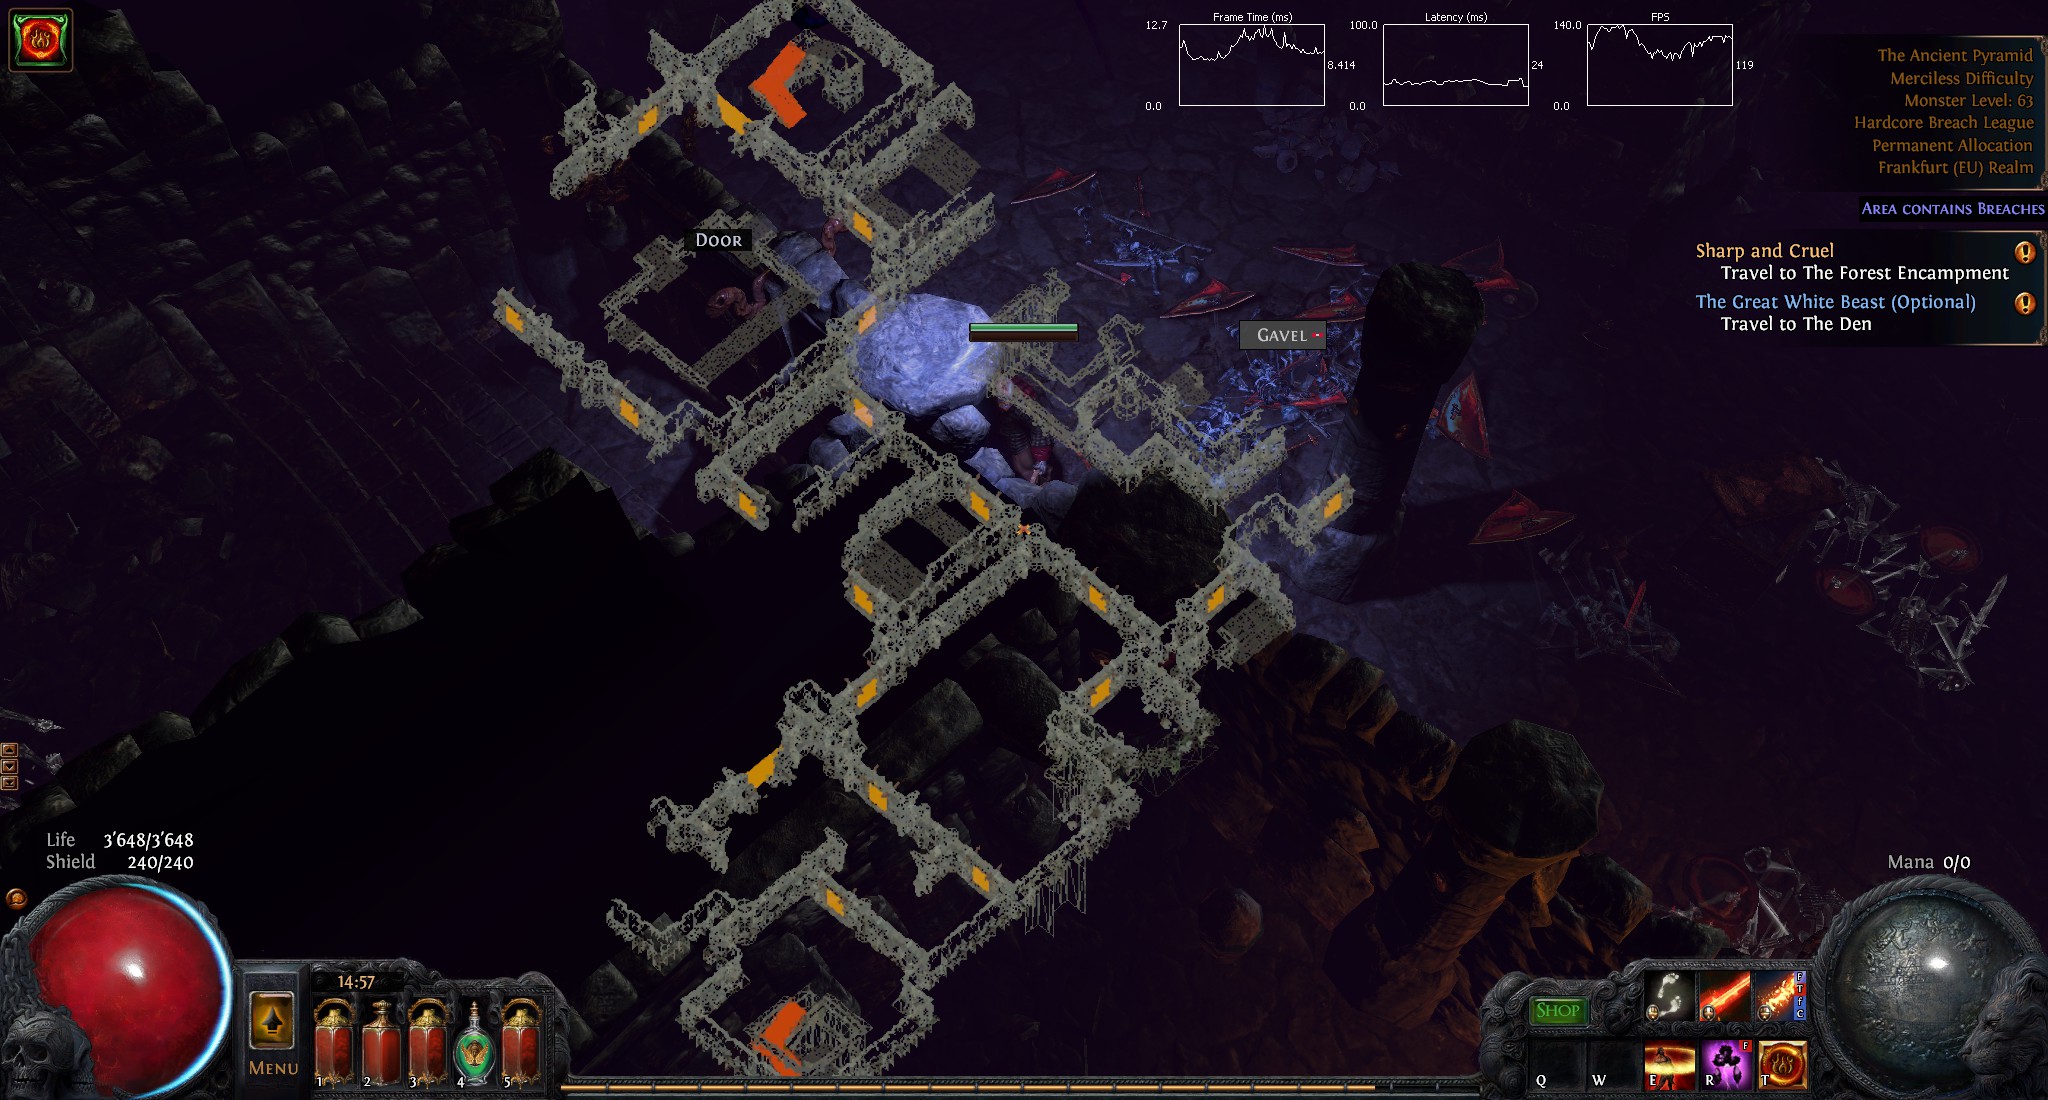
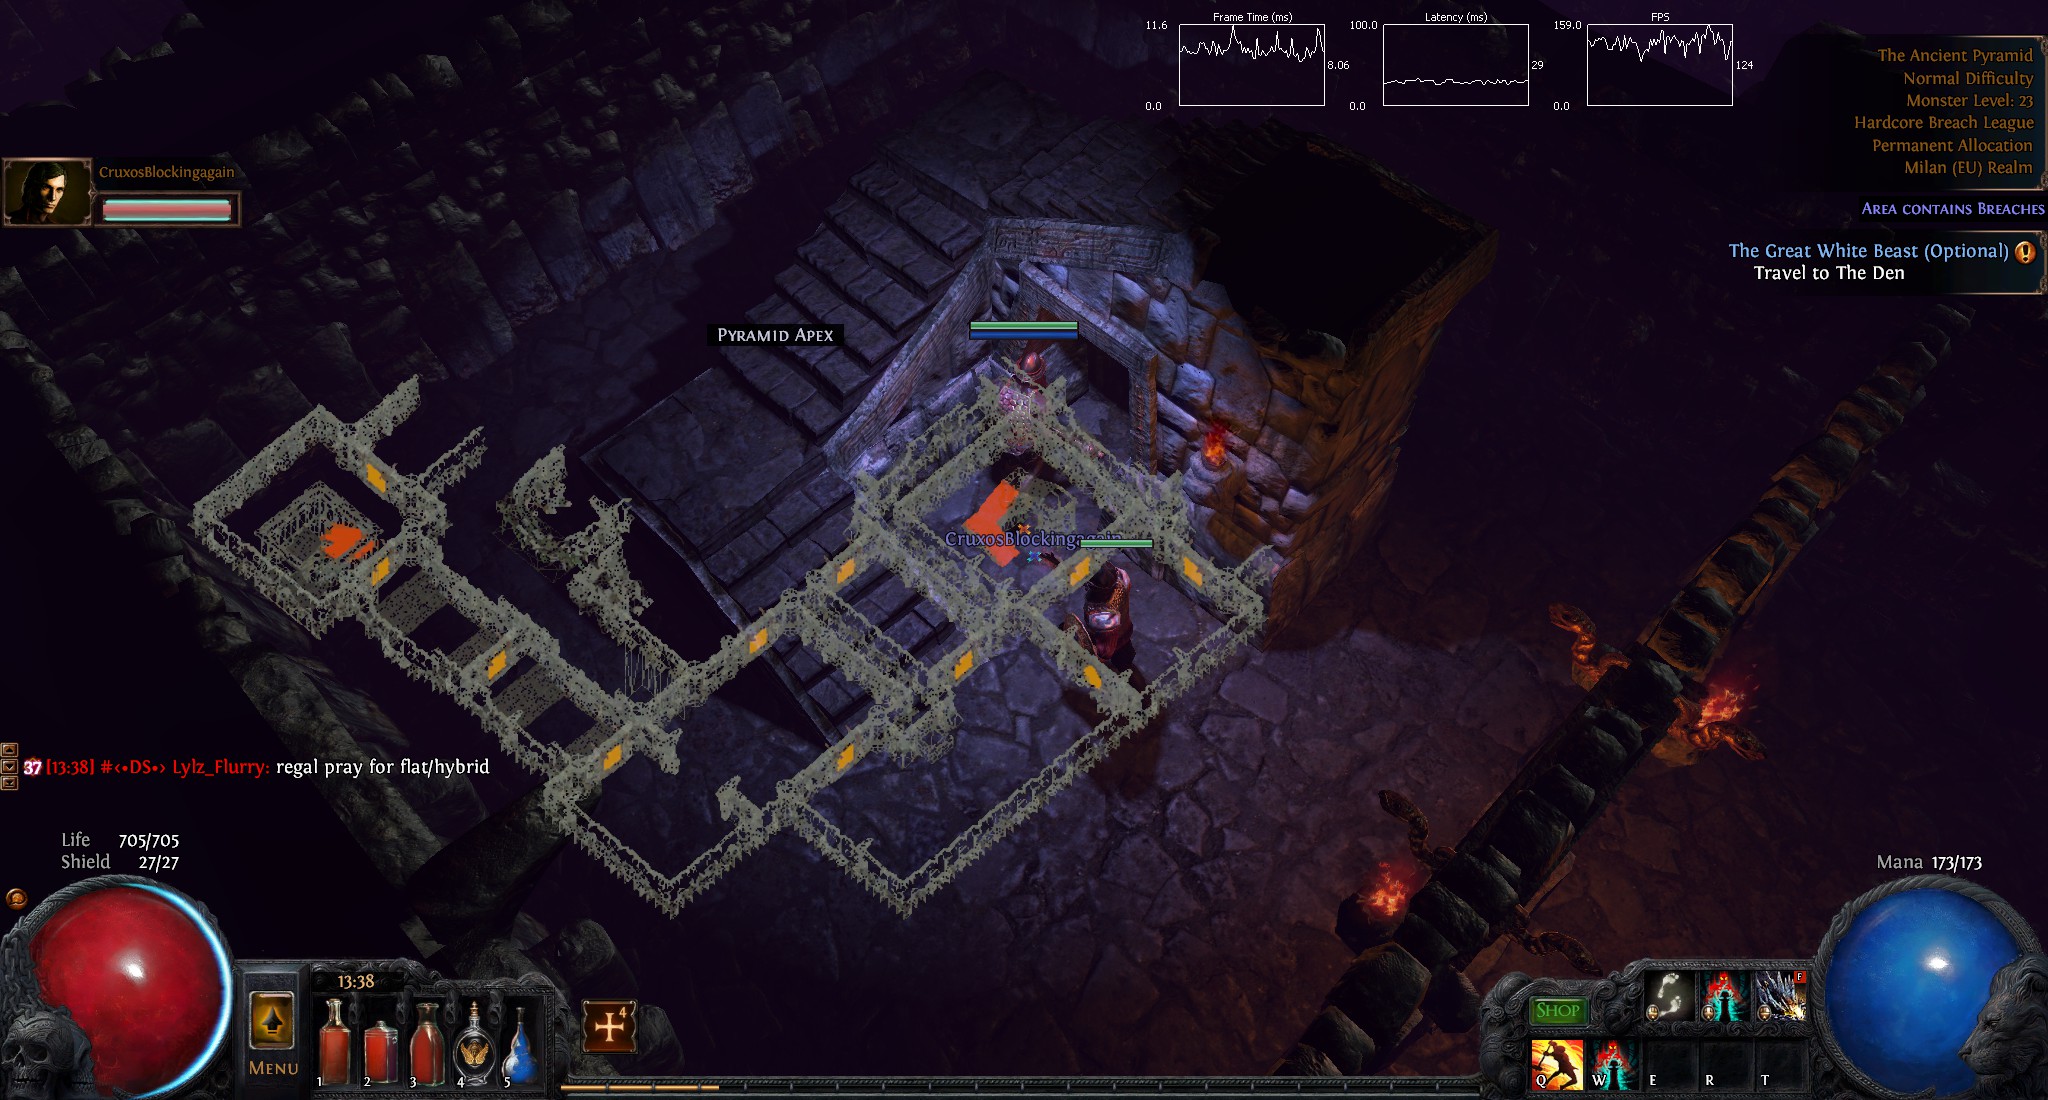
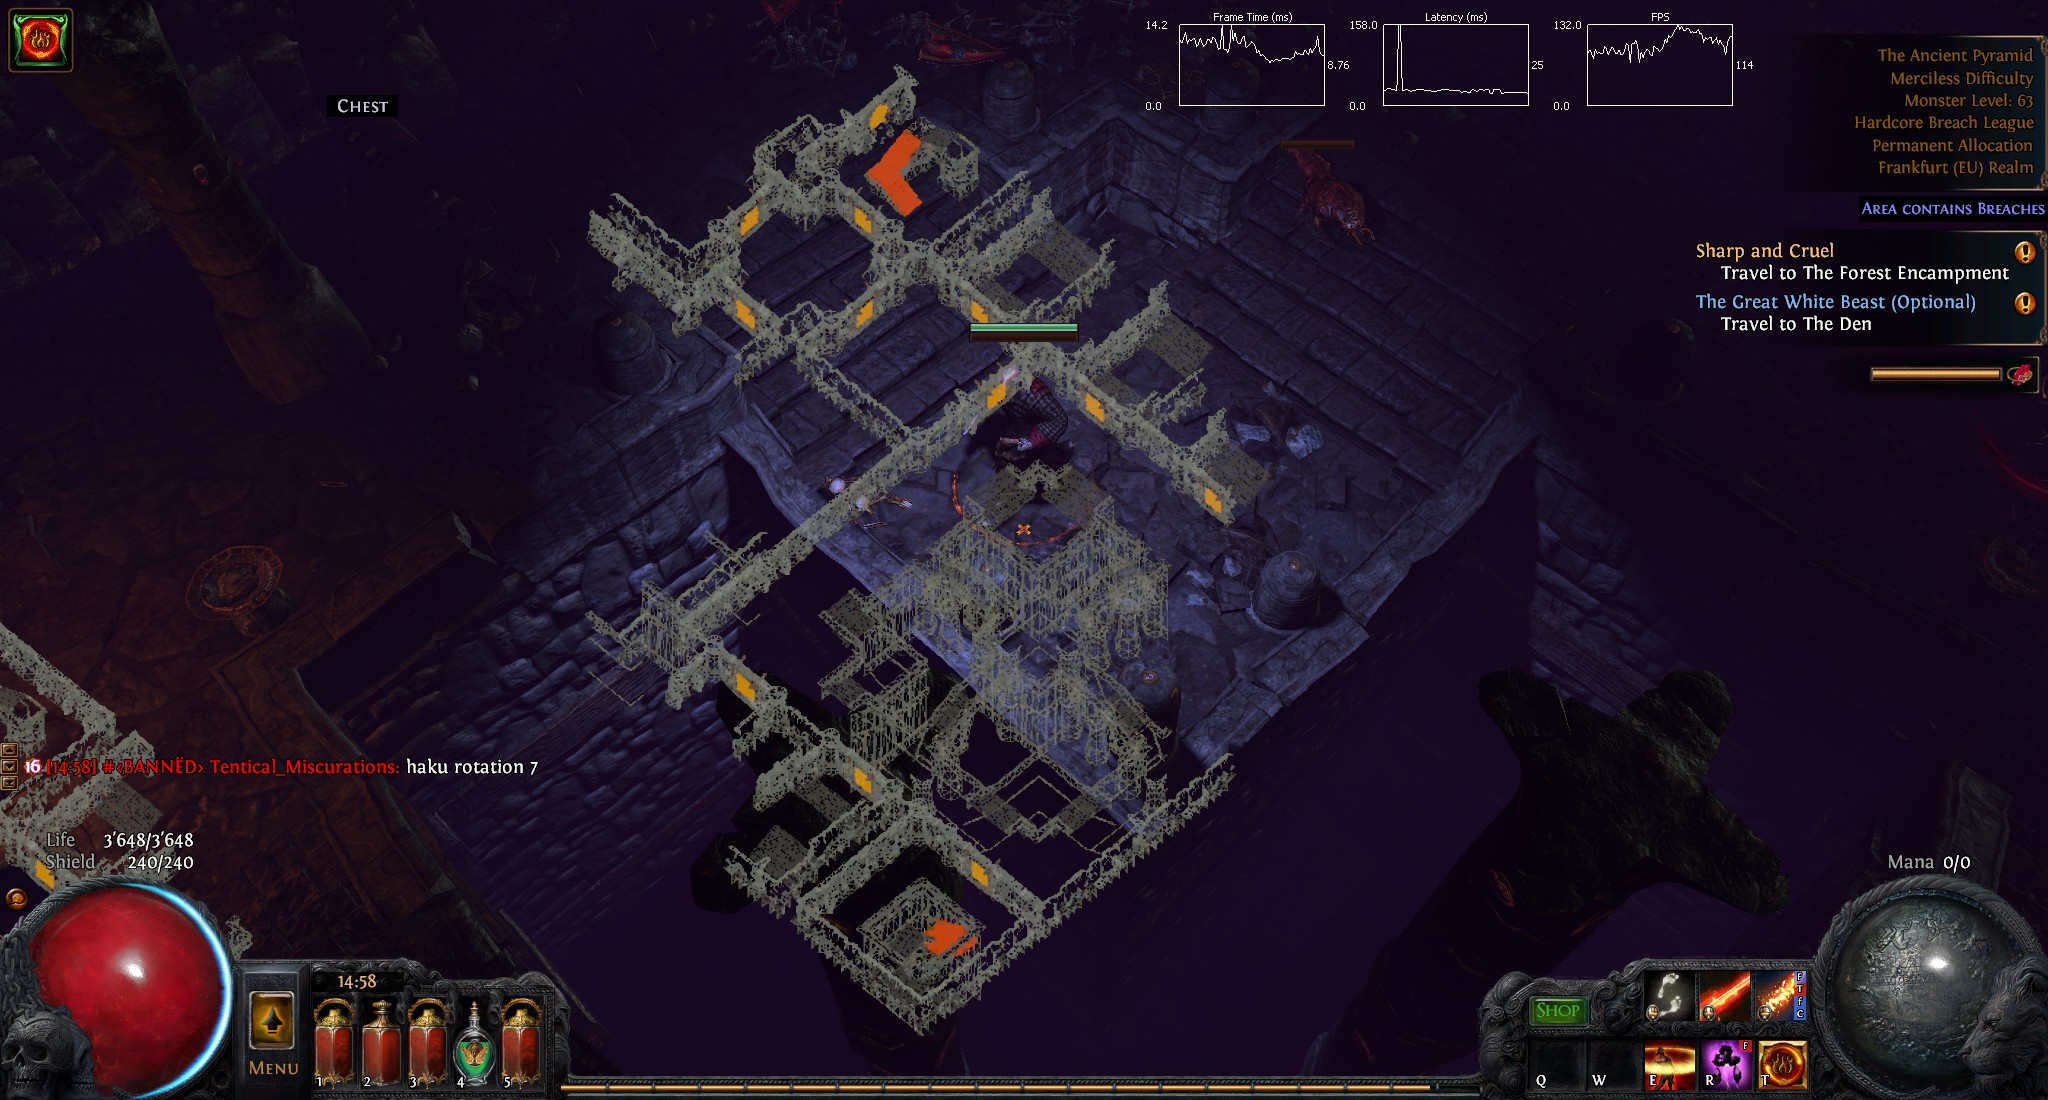
The Pyramid has always a diagonal layout. To orient yourself you check the bottom corner and that gives you a hint in which corner you stand. Just walk diagonal into the opposite direction.
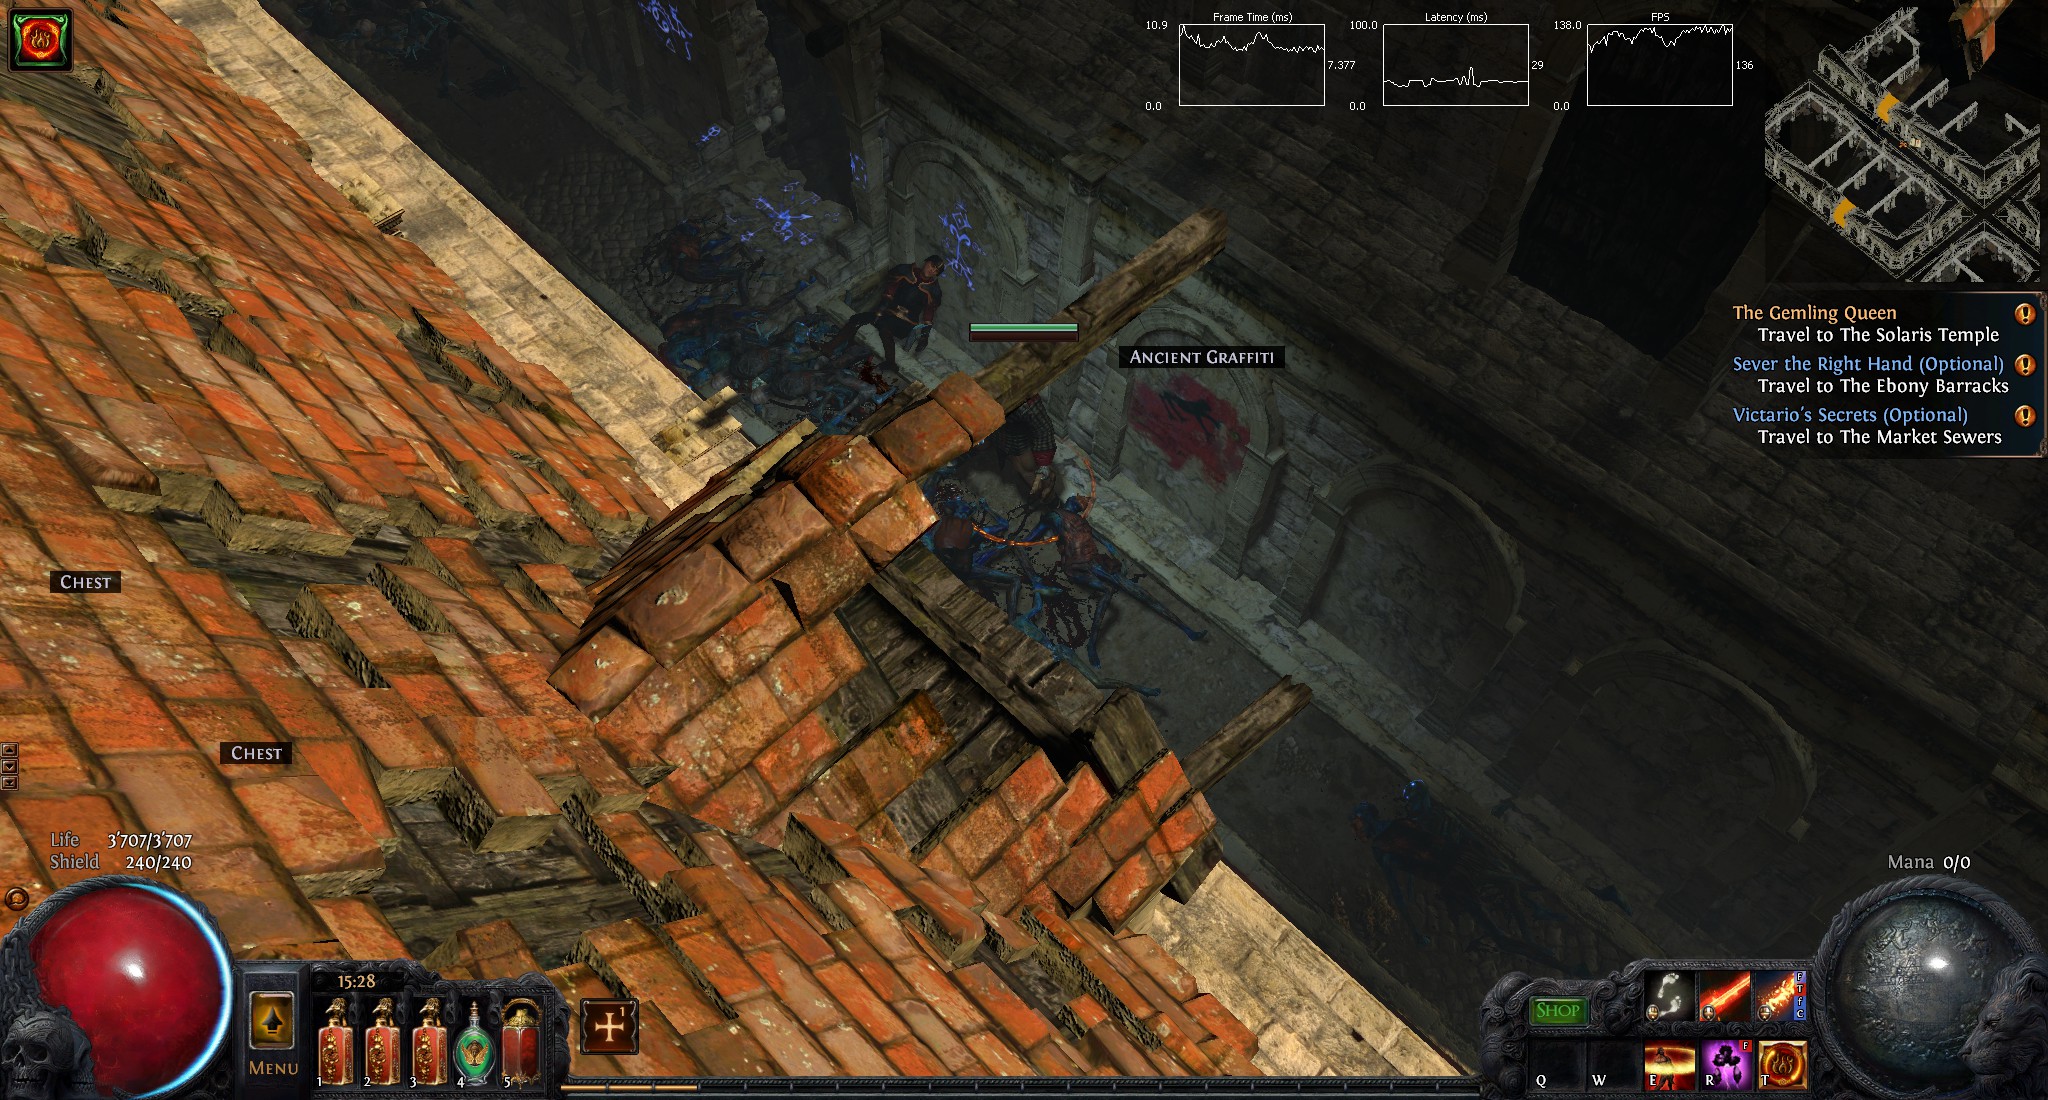
The corpses at the entrances show you, which entrance you should take. The path always leads through buildings with corpses in front.

In the lunaris temple you look at the carpet. This is not a dead giveaway but generally gives the right direction. In the big room the carpet always leads to the next corridor.
The Lunaris Temple Level 2
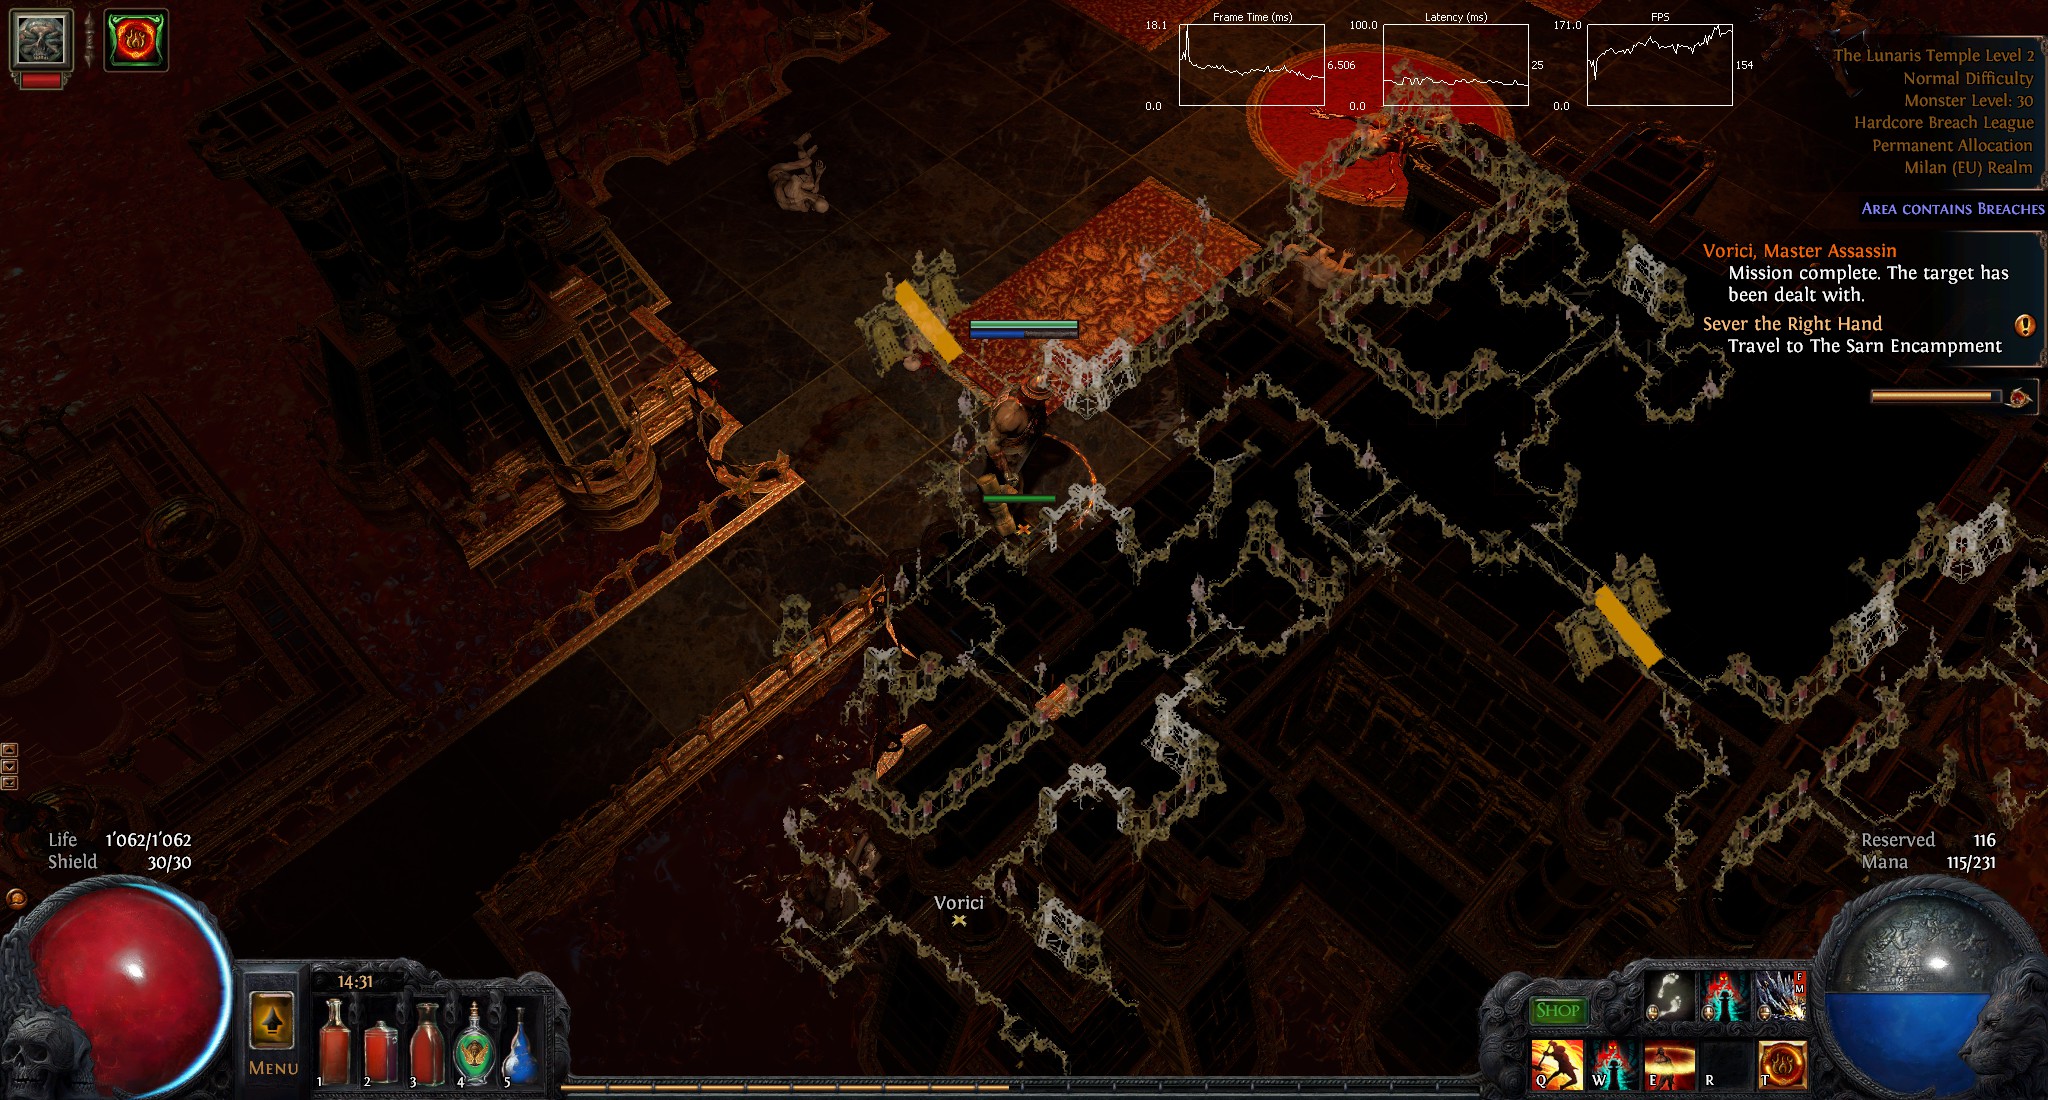
To get to Piety you always have to climb the stairs. But the stairs are not always in a straight line.
The Lunaris Temple Level 2
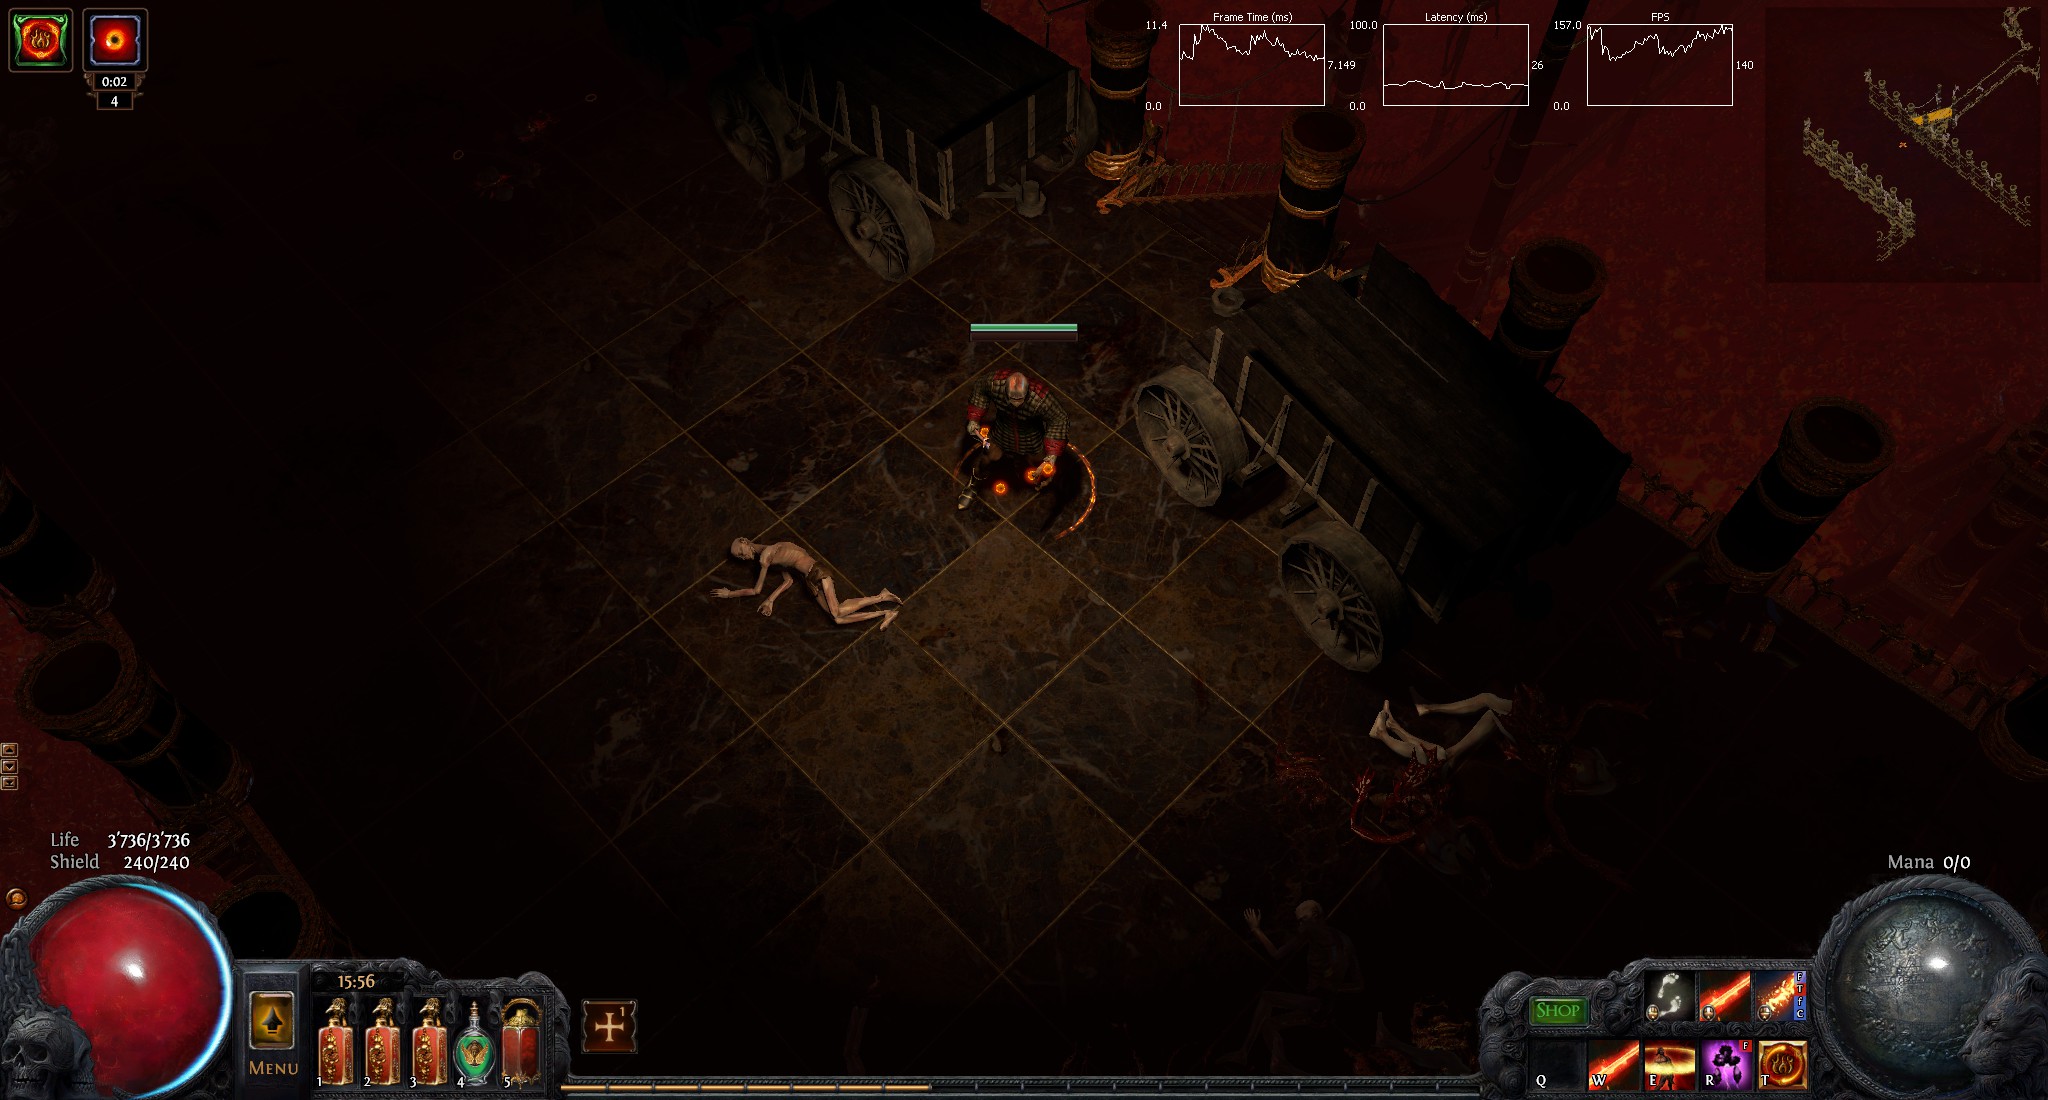
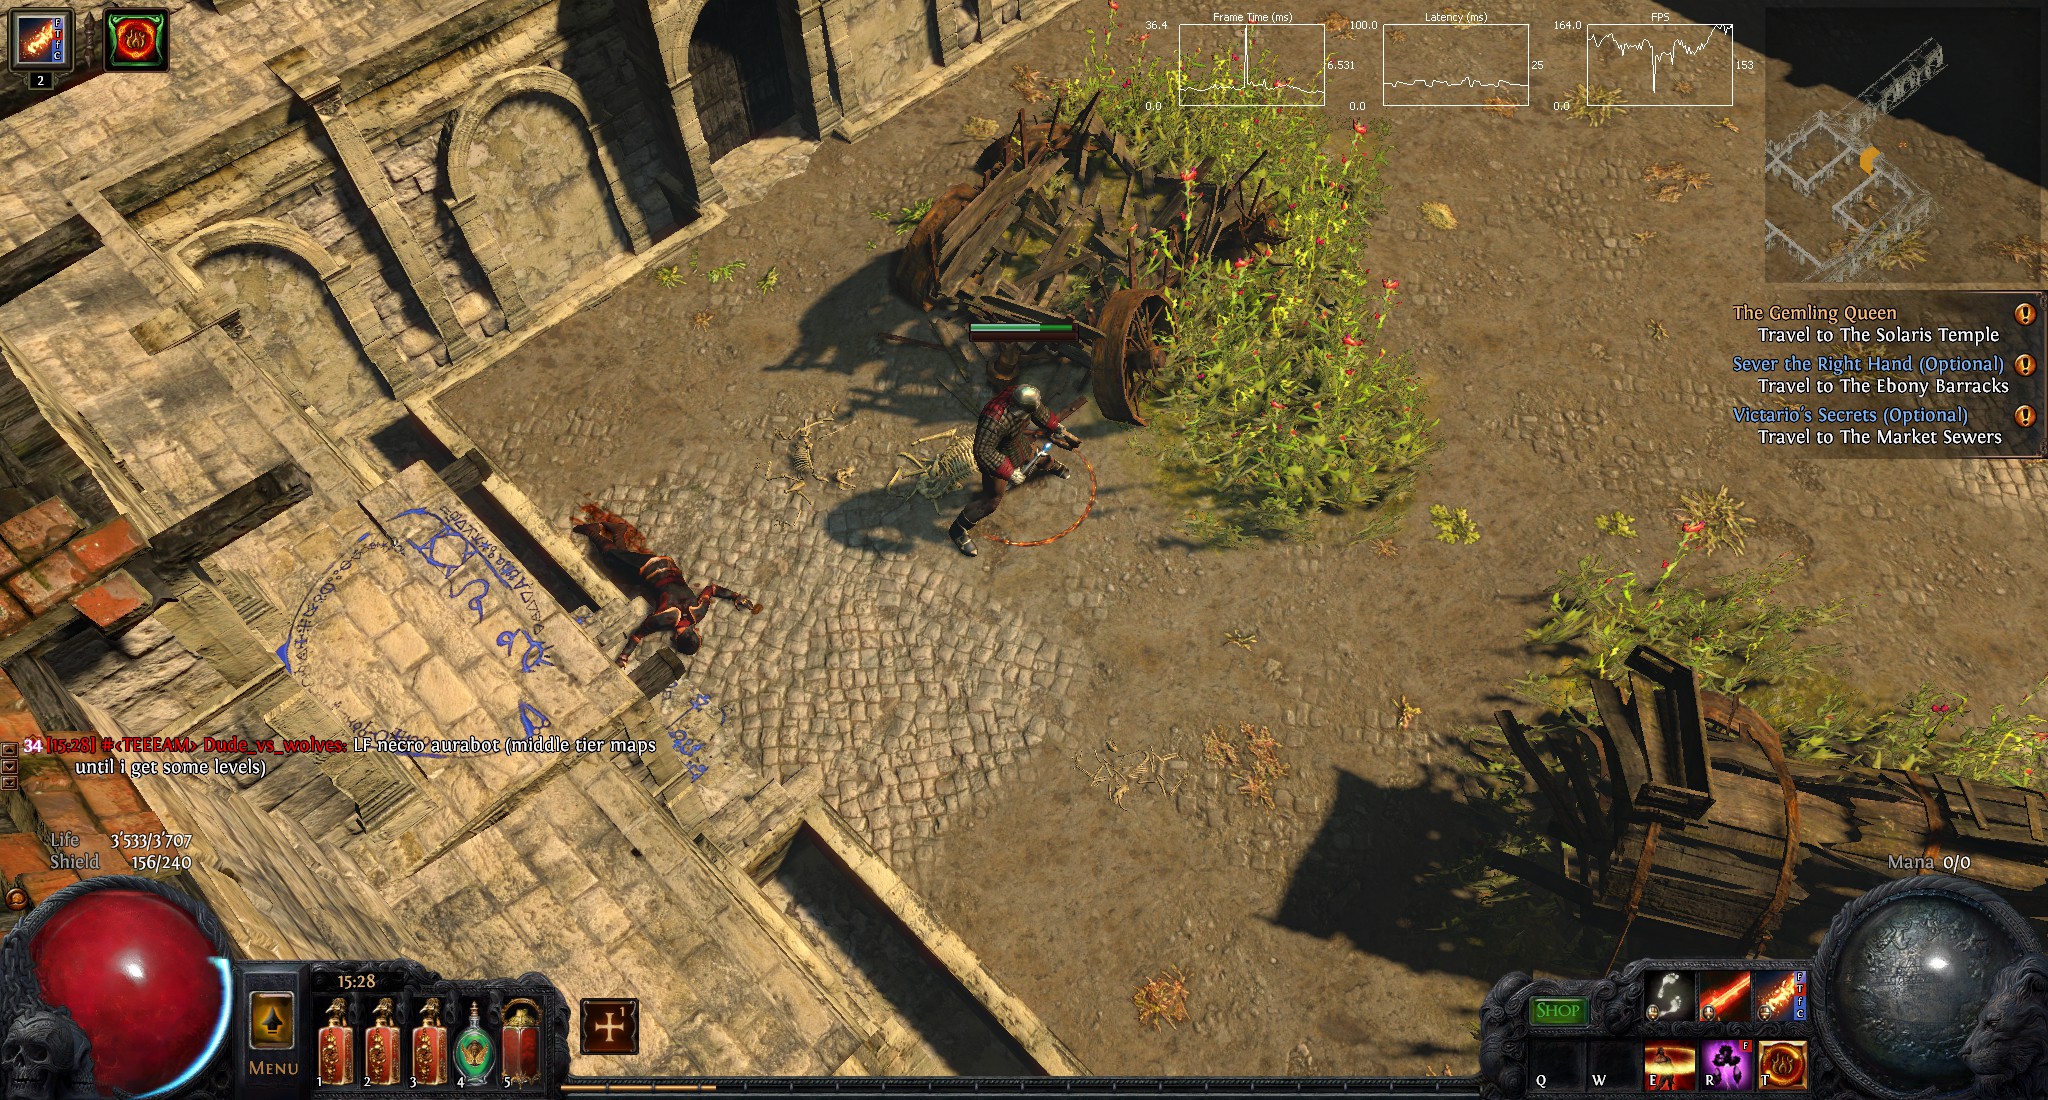
The lasts stairs have carts on each side. The side with only one wagon lead the path. The other side leads to a dead end.
The Imperial Gardens
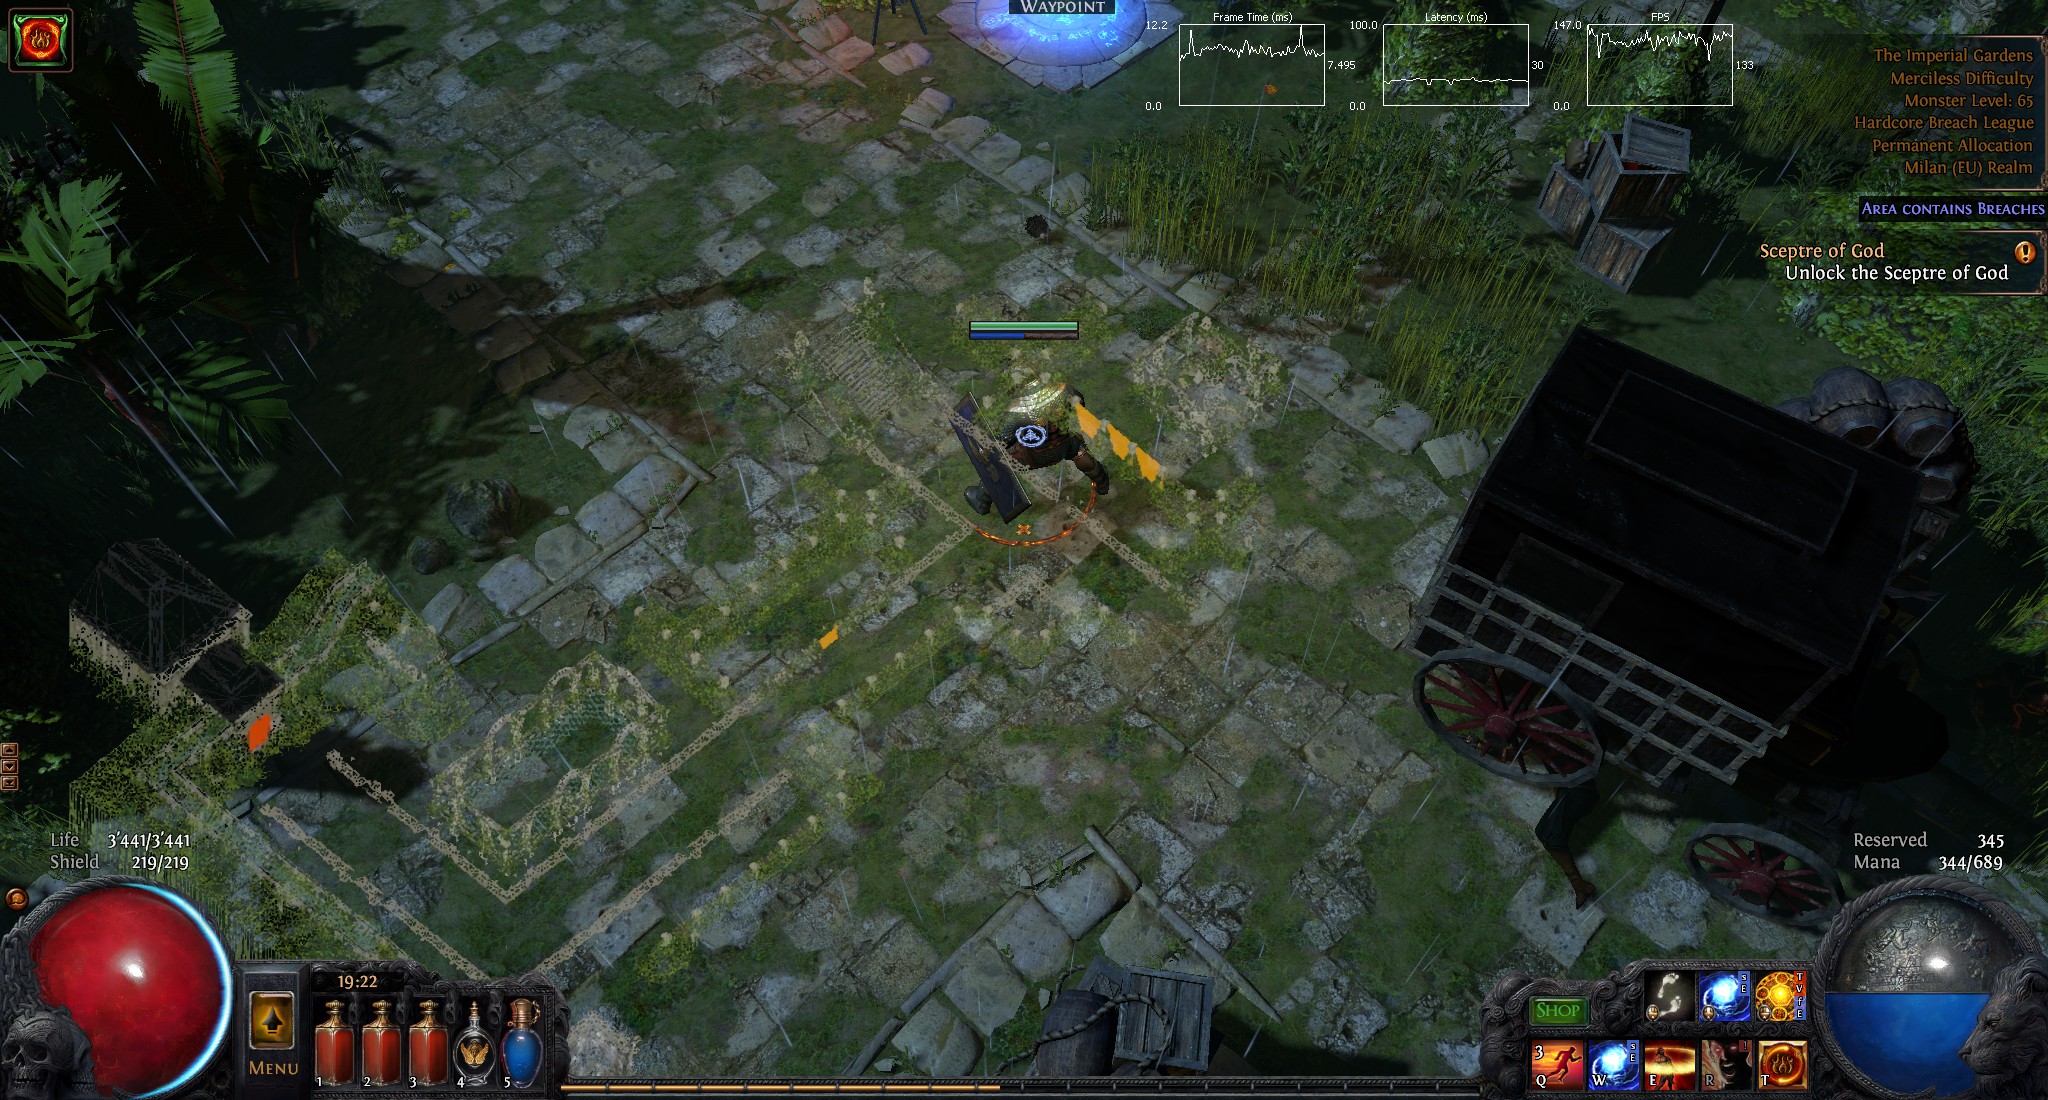
At the waypoint you can go into 3 directions. Straight off the path is the hedge maze. The left path leads to the library. To the right side is the scepter of god.
The Sceptre of God
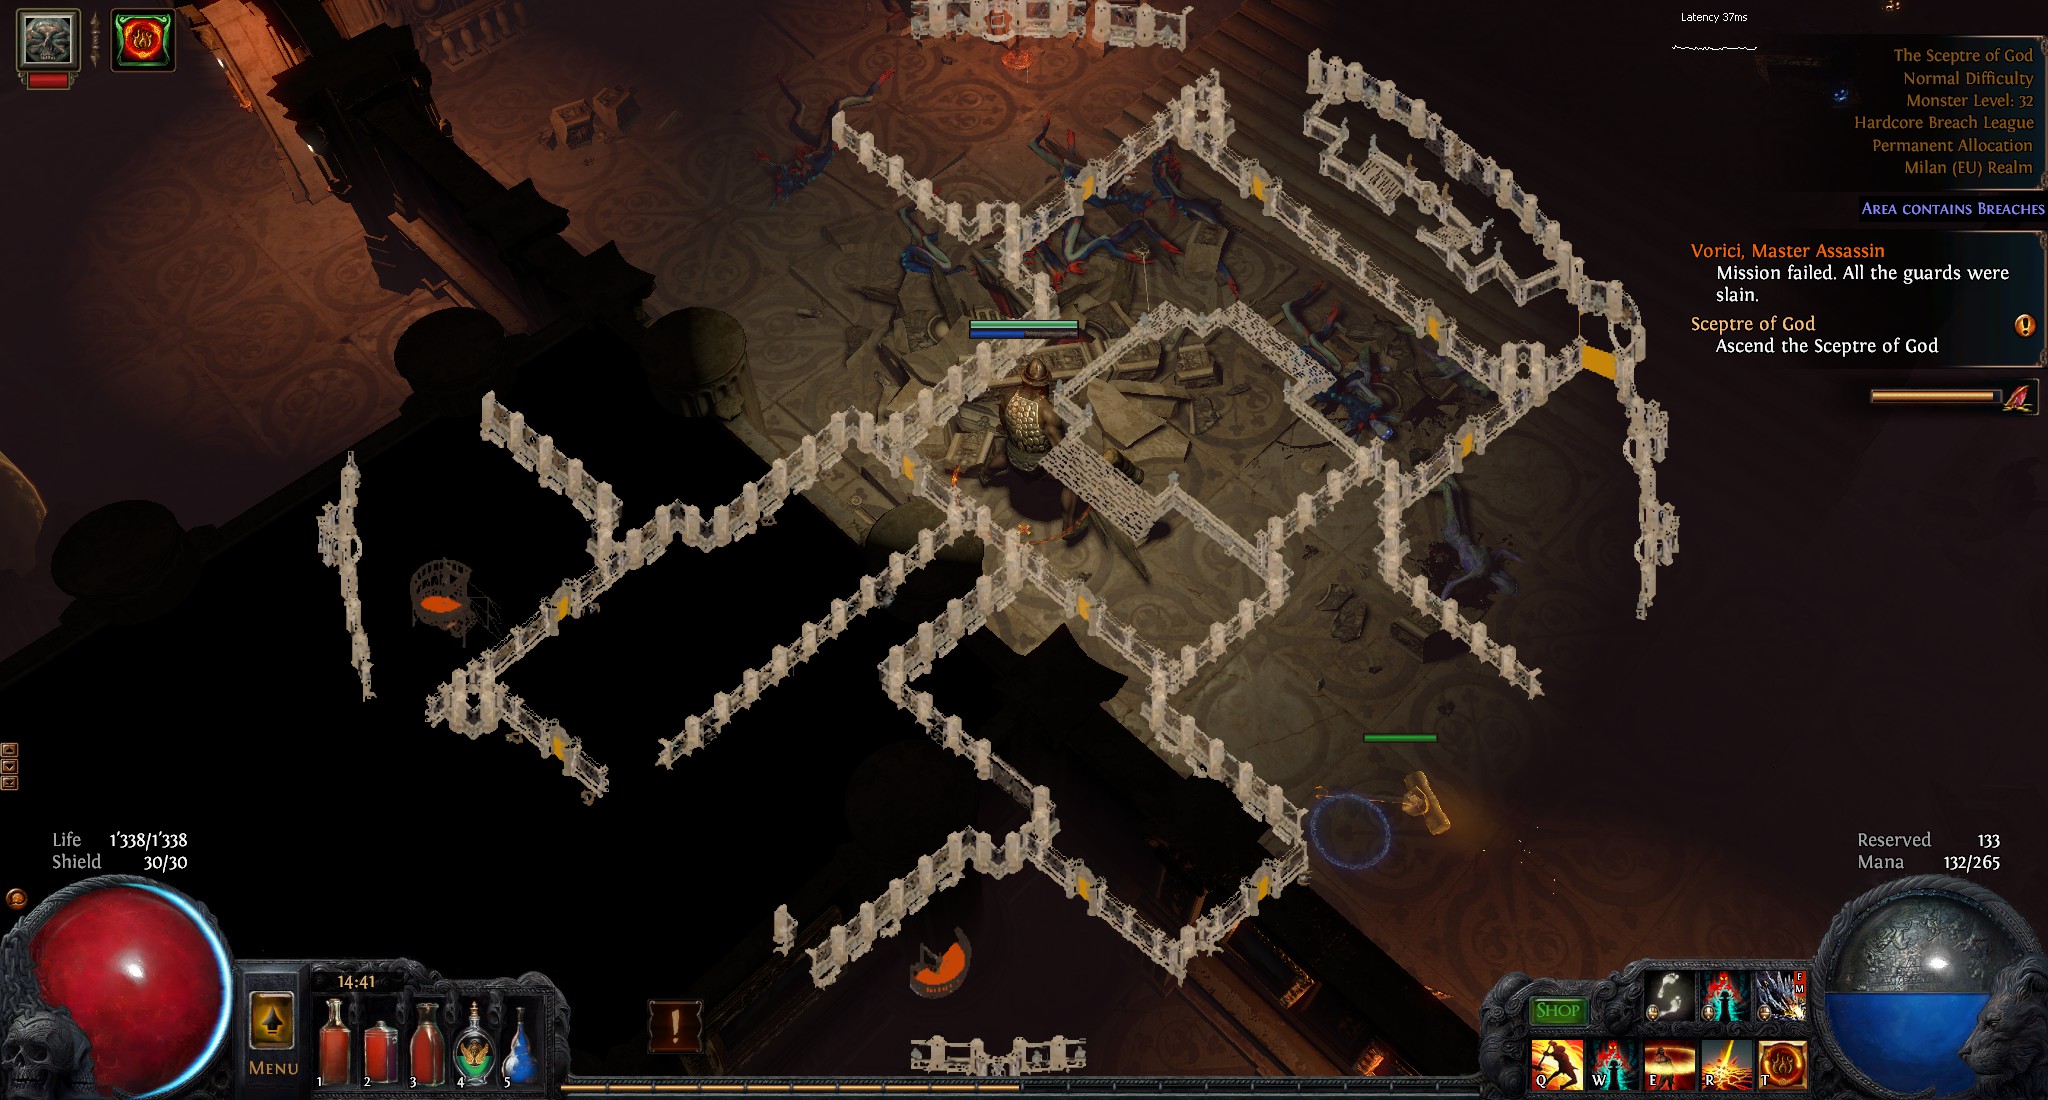
There is no save orientation here. But the stairs are always in one of the 4 corners.
top floor of upper sceptre always have same layout. If you enter on left side, go 2 rooms right and up until stairs, if on right side – one room left and up.
Akt 4
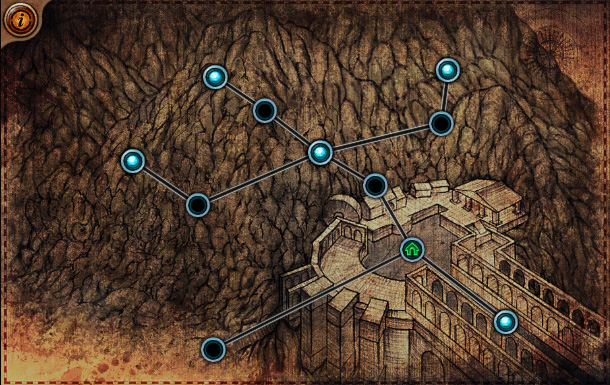
There are no known hints in act4.
The Lord’s Labyrinth
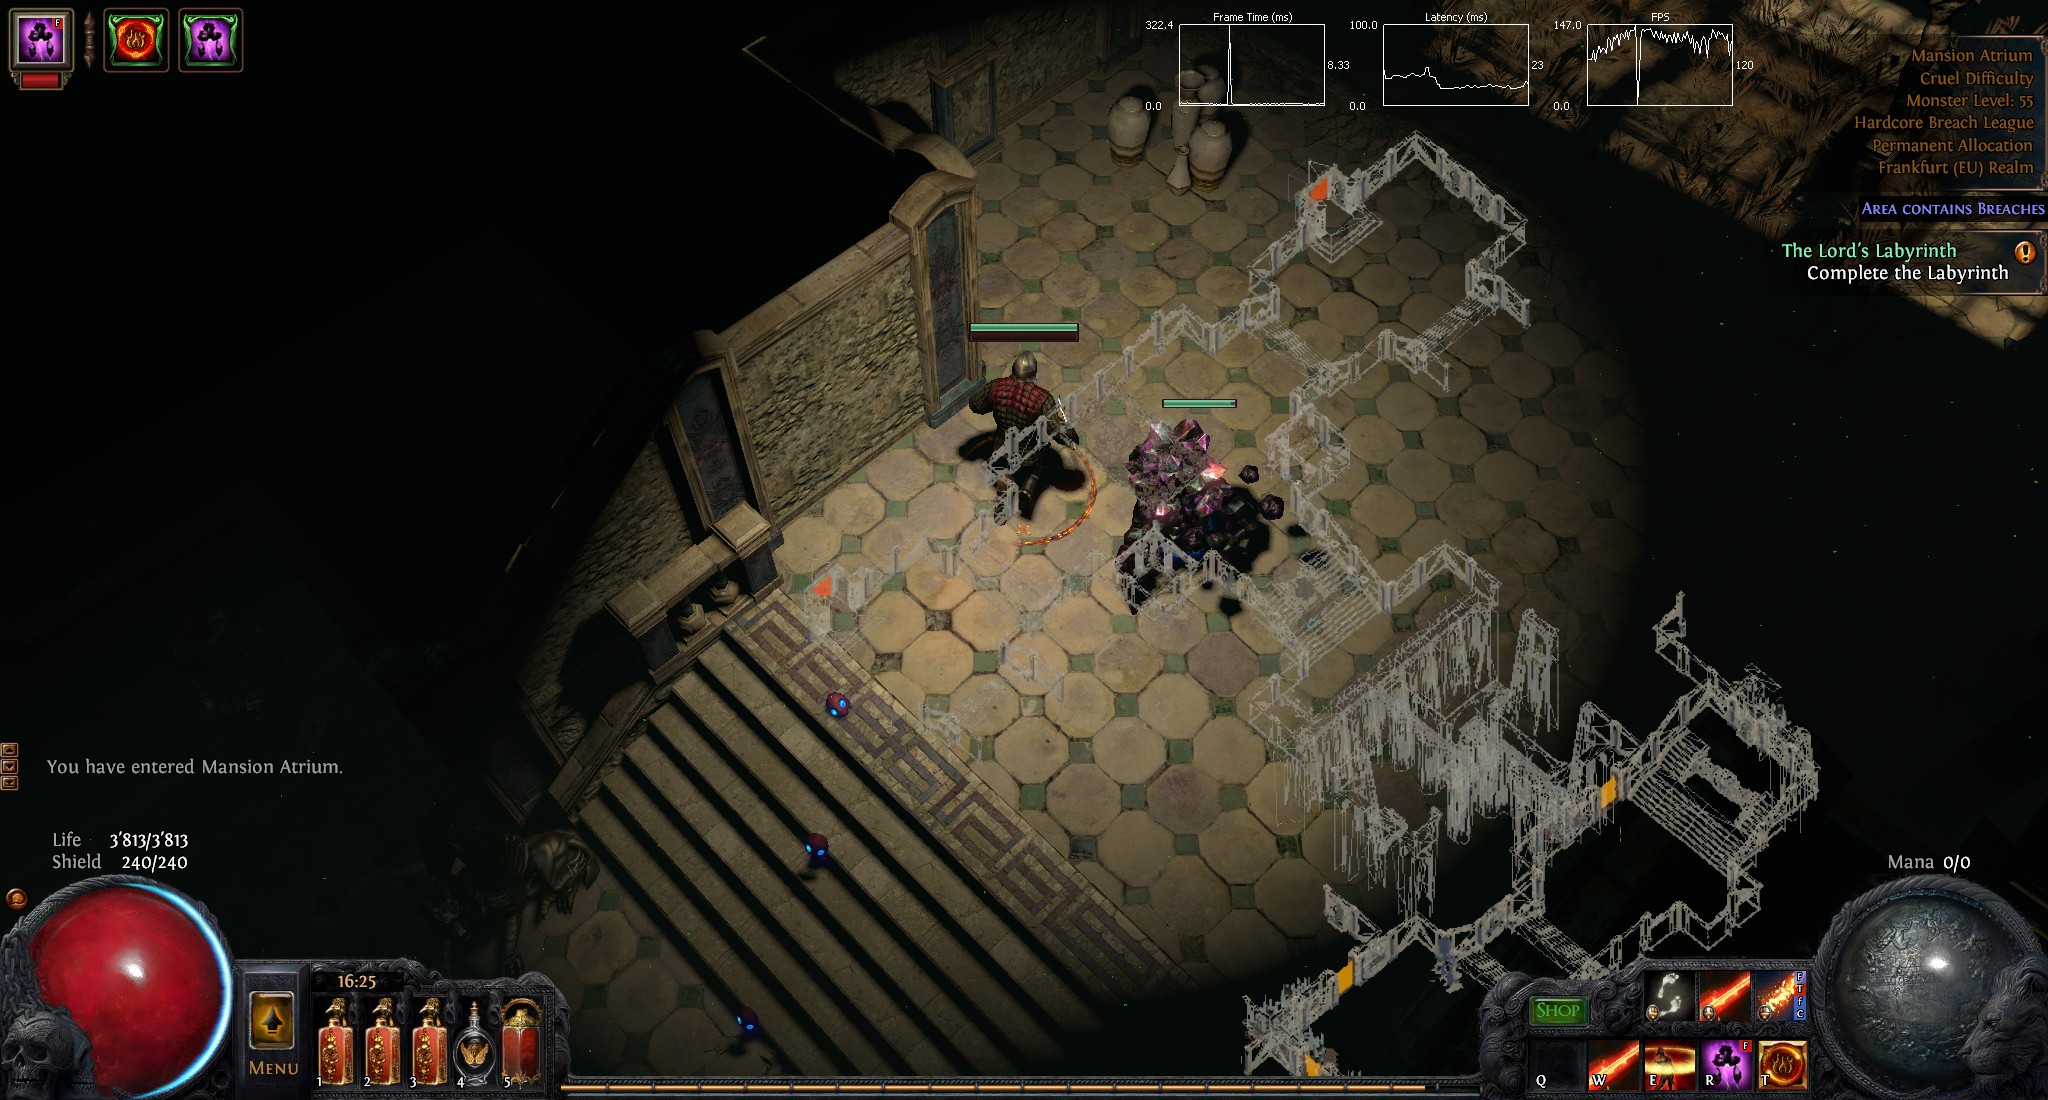
You always have to travell through the area. Once you reached an exit, the other exits are mostly on the same height to the left or right.
Path of Exile hat zufällig generierte Maps, es gibt aber immerwieder kleine Orientierungspunkte damit man schneller durch die Welt reisen kann. Hier eine Liste der mir bekannten Punkte.
The Submerged Passage

Die Doppeltreppen führt weiter zu The Ledge. Die Flooded Depths befinden sich meistens in der Nähe der Treppen. Die Treppen sind normalerweise rechts unten auf der Karte und die Flooded Depths bei den Treppen richtung links.
The Ledge

Beim Wegpunkt stehen 3 kleine Steinmännchen. Diese Steinmännchen zeigen, in welcher Richtung sich Kuduku und The Climb befinden.
Prison
Hier folgt man der Blutspur um zu Brutus zu gelangen.
Prisoner’s Gate

Man Orientiert sich an der Strasse. Auf einer der beiden Seiten gibt es eine Steinwand auf der anderen ein Kliff. Auf der Seite des Kliffs gehts weiter. Man muss Piety auch nicht erst den Eingang schliessen lassen.
Akt 2

The Riverways

Beim Wegpunkt sucht man nach den 2 Pfeilern und der verwachsenen Strasse. Dieser folgt man dann um zu den Wetlands zu gelangen. Wenn man der Strasse nach links folgt, gelangt man in die Western Forests.
The Western Forest

Hier folgt man dem Pfad bis dieser Aufgebrochen wird. Der verwachsenen Strasse folgend kommt man zu Alira. Die Andere Strassenseite führt zu The Weaver’s Chambers.

Hier gibts nichts zu sehen, ausser einem Penis
The Chamber of Sins Level 1

Die Treppe nach unten befindet sich immer an einer der 2 südlichen Ecken der Kammern. Die falsche untere Ecke enthält ein grosses Monster-Bluepack.

Fidelitas befindet sich vom Wegpunkt immer nördlich. Im Süden befindet sich die Trial. Im Norden hält man sich rechts und hält ausschau nach einem länglichen gang nach Rechts meist mit einem Teppich in der mitte des Ganges auf dem Boden
The Caverns

Sobald man bei den Caverns angekommen ist, hält man sich links. Der Eingang zur Ancient Pyramid ist immer Links. Es gibt jedoch auch links Türen die nicht weiter führen. Daher nicht strikt jeweils die erste linke Tür nehmen.

Die Pyramide ist immer Diagonal angelegt. Zur Orientierung sieht man sich die Ecke an und weiss dann in welcher Ecke man sich befindet. Diagonal dazu befindet sich die nächste Treppe.

Die Leichen an den Hauseingängen zeigen an, welcher Eingang weiter führt. Der Weg führt immer nur durch Häuser mit Leichen.

Im Lunaristempel orientiert man sich am Teppich. Dies stimmt nicht immer, aber im grossen Raum zeigt der Teppich immer in Richtung des nächsten Ganges.
The Lunaris Temple Level 2

Um zu Piety zu gelangen muss man immer die Treppen steigen. Die Treppen sind aber meist nicht schön auf einer Linie angeordnet.
The Lunaris Temple Level 2

Bei den letzten Treppen befinden sich auf beiden Seiten Wagen. Die Seite mit nur einem Wagen zeigt den Weg an. Die andere Seite führt in eine Sackgasse
The Imperial Gardens

Beim Wegpunkt angelangt gibt es 3 Richtungen. Gerade weg von der Strasse befindet sich das Hedge Maze. Der Weg links führt zur Library. Rechts gehts weiter richtung Scepter of God.
The Sceptre of God

Beim Scepter of God gibt es keine sicheren Orientierungen. Aber die Treppen befinden sich immer in einer der 4 Ecken.
Akt 4

Hier sind mir keine Hinweise zur Levelorientierung bekannt.
Zum Forschen:
Akt 4 Daresso’s Dream:
Immer rechts halten.
Akt 4 Daresso:
Beim Wegpunkt immer erster Weg link.
Der Ausgang der Arenen in The Grand Arena liegt immer beim Eingang gerade aus.
https://dd.reddit.com/r/pathofexile/comments/5mcq80/orientation_tips_to_get_through_wraeclast_faster/
The Lord’s Labyrinth

Im Lab muss man immer die Area durchqueren. Wenn man einen Ausgang gefunden hat, sind die anderen meist auf der selben höhe weiter links und/oder rechts.
Fuck it this Post was in draft state for 2 years and i likely won’t write anything new to it so here you go.
I wanted to write this guide to show what it’s like to build a 3D printer and use one after that. I want to show what all the 3d printing is about. I had almost no contact with 3d printing before this project and have only seen 3-5 models printed with one. I ultimately bought one because there was a 24h sale and I wanted a printer for quiet some time. As the printers get cheaper and the variety gets bigger the interest on 3d printers will rise. I have no further experience on the subject and do not claim to be neutral. I do not have experience with other types of printers and other models. Let’s get into it:
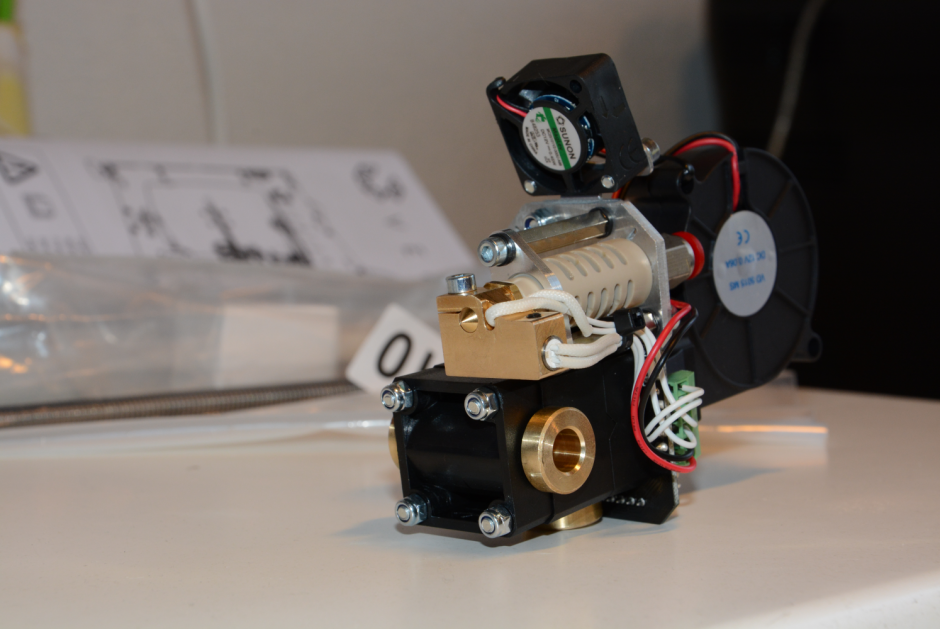
There are a wide variety of printers already available. A lot of them are FFF printers. Thats the kind of printer that uses 1.75mm (or 3mm etc.) of plastic string to “build” the object. The plastic is fed into a nozzle, melted and then pushed trough a nozzle onto a plate which is sometimes heated to make sure the plastic sticks to the plate. The nozzle looks like this: 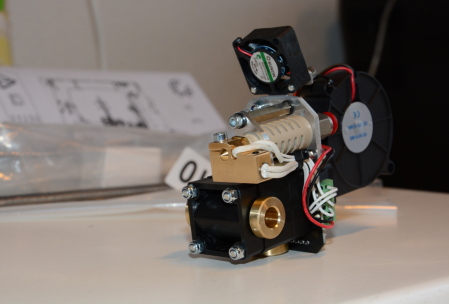 The printer I bought is working with this technology. Beside the FFF technology there are a lot of other technologys and you can 3D print objects made of stone or metal. I won’t go into detail on those other processes but wikipedia should help you out if you are curious. Another type of 3D printer is a doodle pen where you can draw plastic in 3D. It is very intuitive and non technical – great to introduce younger people to 3D printing or to show older folks what all this 3D printing thing is about. So, what did I get myself into?
I bought a Vertex K8400 as my first printing device. This was a rather short decision and I did only read a couple of reviews before I bought it, there might be better options but I found this Printer perfectly suited for my needs. It’s very cheap, provides a good printing dimension and is upgradeable to 2 Printheads (nozzles). The Specs can be found on the website (http://www.vertex3dprinter.eu/#specs) but to have all information gathered here and providing it longer then the usual halftime of websites do, here they are:
Printing:
print technology: Fused Filament Fabrication (FFF)
layer resolution: standard: 0.1 mm (maximum: 0.2 mm – minimum: 0.05 mm)
build plate: 215 x 240 mm (8.46″ x 9.45″)
build volume: 180 x 200 x 190 mm (7″ x 7.8″ x 7.5″)
print speed: 30 mm/s – 120 mm/s
travel speed: 30 mm/s – 300 mm/s
build plate surface: Removable layer of BuildTak™
(consumable; also sold separately)
filament diameter: 1.75 mm (accepts all filament spools with a mounting hole = 53 mm).
Open filament policy.
prints: PLA, ABS
Testing with other materials in progress.
nozzle 1&2 diameter: 0.35mm
One nozzle supplied. Second nozzle optional.
distance between nozzles: 23.7 mm
Maximum nozzle operating temperature: 270 °C
Software:
firmware: Modified Open Source Marlin 3D Printer
Firmware – user upgradable
software: Repetier – CuraEngine – Slic3r
(RepRap compatible)
Hardware:
dimensions: X Y Z 360 – 380 – 395 mm
(14″ x 15″ x 15.5″) (without filament spools)
frame: Polycarbonate panels and fibre reinforced molded ABS parts
weight: 10 kg
average noise level during operation: 52 dBA (at 1 m)
ambient operation temperature: max 25 °C
storage temperature: – 10 °C to + 40 °C
Electrical:
communication: USB 2.0 or SD card
controller board: AVR ATmega2560 based
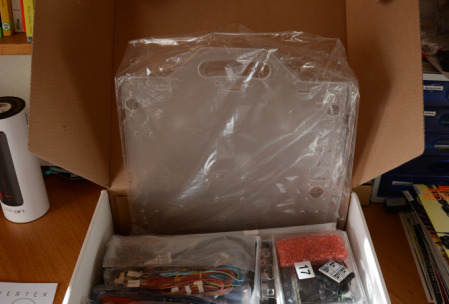
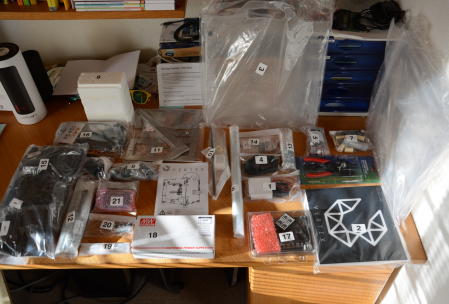
As it turnes out this printer has a good printingquality compared to some other printers (judging by the pictures of other makers). It is crucial to be very accurate when building the machine, since your prints will depend on the buildquality. After ordering I got a package looking like this:
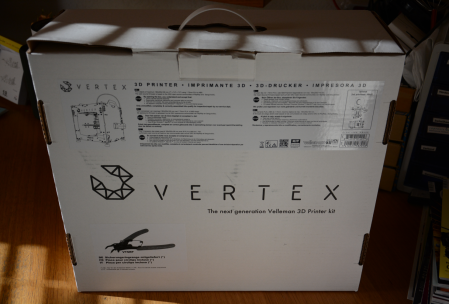
There is no instruction inclueded but there is a great guide online. The guide walks you through every step in great detail including the calibration and first use.
I spent a weekend on building the printer and after calibration everything went smooth. For calibration: This model has the plate as z axis. The printhead is only moving x/y and you really should oil the z Axis threaded rod before use! Make sure you oiled it and did turn it enough to get the oil between the moving part of the threaded rod. Make sure you set the Z stoper like they suggest in the guide. Calibrate the plate manualy by leveraging the plate not by moving the z stoper, you could brake your nozzle or the glas plate by doing it the other way! Try to calibrate it as accurate as possible, this will influence the printing quality.
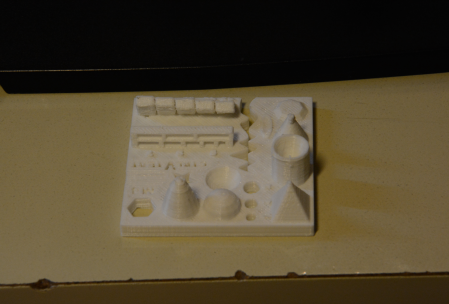
After you finished calibrating, you can start your first print. I suggest you print the testobject provided by ctrlV. This print shows what your printer is capable of and where the printer meets its limits. How to print this? To use the 3D printer there is a slicer and printer software needed. Repetier-Host can be used for both and it comes with a Slicer engine. The 3D printer needs commands in form of G-Code and the software can generate this G-Code from a sliced object. Whats a slice? Thats an object that is recalculated into lines with specific spaces between them. Whats G-Code? That’s just a bunch of commands like move x amount of steps to x, lower the printing plate 1 step etc. I did print the testobject and it looks like this:
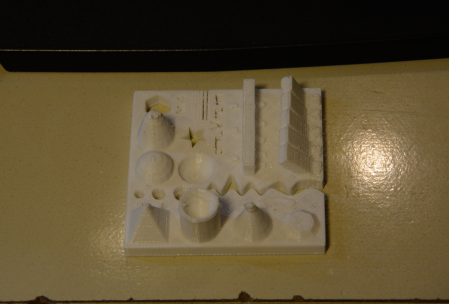
I am very pleased by the outcome. But my printer has a few problems:
– Printing very small parts like pyramid points tend to melt the point and smear.
– If the overlap has 30° or more it gets inaccurate on the overlap
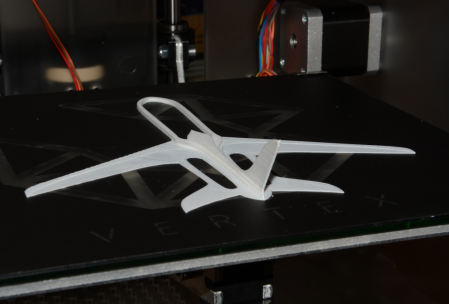
At least the point problem should be fixable by tinkering in the configurations. Heres another print (already removed some printing rests)
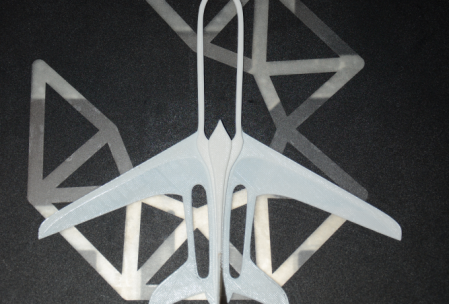
f
supportmaterial
TODO
Model and print
Todo
Blender
Photogeometry
pulley adjusting
if enccounter x/y hops
There are a few problems you can run into while tinkering with your 3D printer. There is a great Wikipedia entry on reprap to for troubleshooting those, I won’t go into detail about that.
printing materials
There are a lot of different printing materials. beside the normal fillament there is fillament for support structures that is removable etc. More about printing materials can be found here.
Sites for 3D prints
http://www.yeggi.com/
http://www.thingiverse.com/
Tips and tricks when buying this kit:
-Get a Typ13 plug if you live in switzerland. The printer comes with a german plug and an adapter (in Switzerland).
-Use the newly added M3x6 instead of the M3x4 for the pulleys
-There are 2-3 minor errors in the instruction guide (at the time i built it) e.g. 11. Assembling the Extruder: Needs a M5x16 not M5x12
-Get a cleaning scraper, they are awesome to get prints off of the plate
-The footstands tend to leave black stains on the table
-Buy a longer USB cable, the one provided ha just 1 meter in length
-Keep the rods well oiled, otherwise the printer can have x / y motor hops screwing your print. After a hop the printhead is not where the software thinks it is.
check https://www.youtube.com/watch?v=QSGj8l5-uUs
check https://all3dp.com/3d-printing-vs-cnc-milling/
Archives
- November 2023
- December 2022
- November 2022
- February 2022
- November 2021
- October 2021
- September 2021
- July 2021
- April 2021
- March 2021
- February 2021
- January 2021
- September 2020
- July 2020
- April 2020
- March 2020
- February 2020
- December 2019
- November 2019
- October 2019
- August 2019
- June 2019
- February 2019
- December 2018
- November 2018
- October 2018
- September 2018
- August 2018
- July 2018
- May 2018
- March 2018
- February 2018
- December 2017
- November 2017
- September 2017
- July 2017
- June 2017
- April 2017
- February 2017
- January 2017
- October 2016
- September 2016
- July 2016
- May 2016
- April 2016
- March 2016
- August 2015
- July 2015
- May 2015
- April 2015
- March 2015
- February 2015
- January 2015
- October 2014
- April 2014
- March 2014
- February 2014
Calendar
| M | T | W | T | F | S | S |
|---|---|---|---|---|---|---|
| 1 | ||||||
| 2 | 3 | 4 | 5 | 6 | 7 | 8 |
| 9 | 10 | 11 | 12 | 13 | 14 | 15 |
| 16 | 17 | 18 | 19 | 20 | 21 | 22 |
| 23 | 24 | 25 | 26 | 27 | 28 | 29 |
| 30 | 31 | |||||
